Part I: Setup your Photon
Step 1: Install Particle CLI:
If you are a Windows user:
You need to download Particle Windows Installer. This installer can install everything you need automatically, including node.js, the particle-cli, and dfu-util.
If you are a Mac/Linux user:
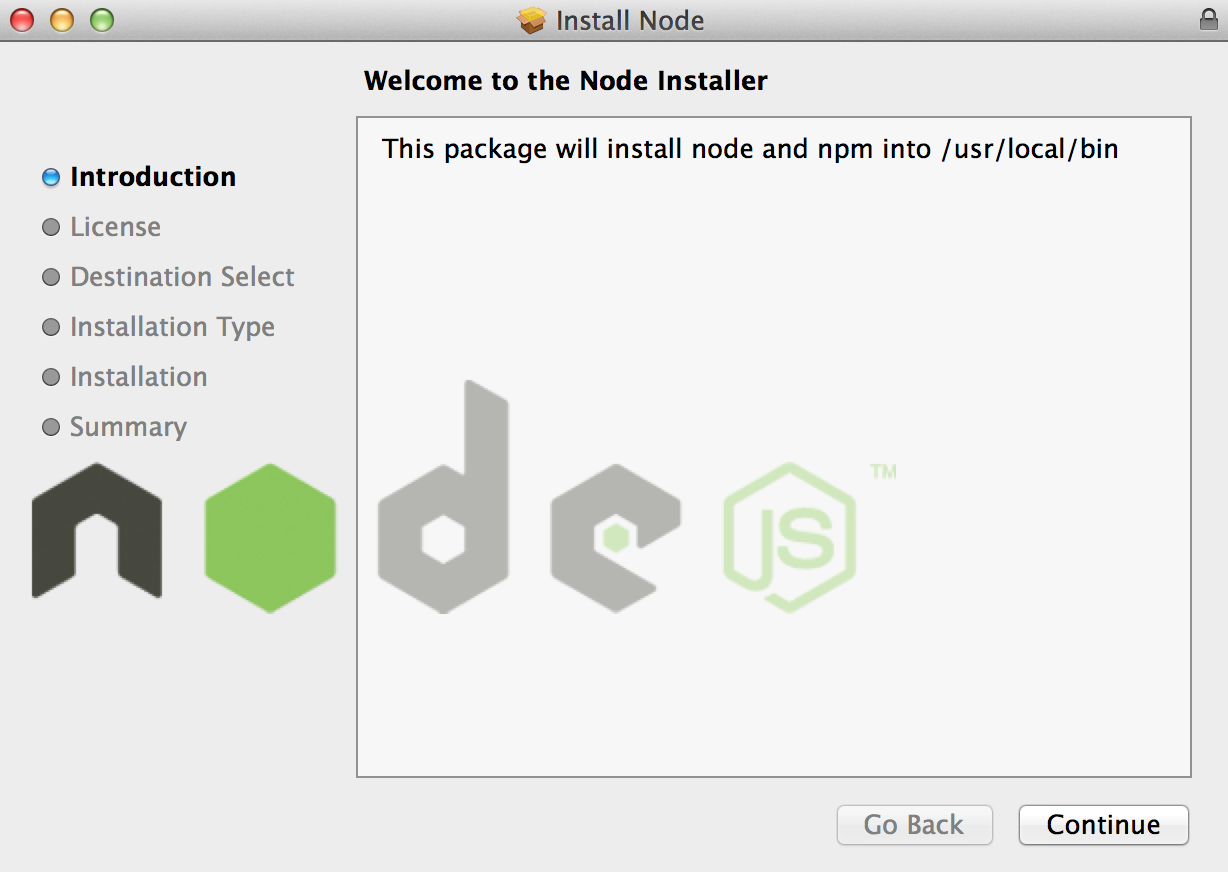
First, you need to download Node.js.

Install Node.js

Open your terminal. At the $ prompt, type:
npm install -g particle-cli
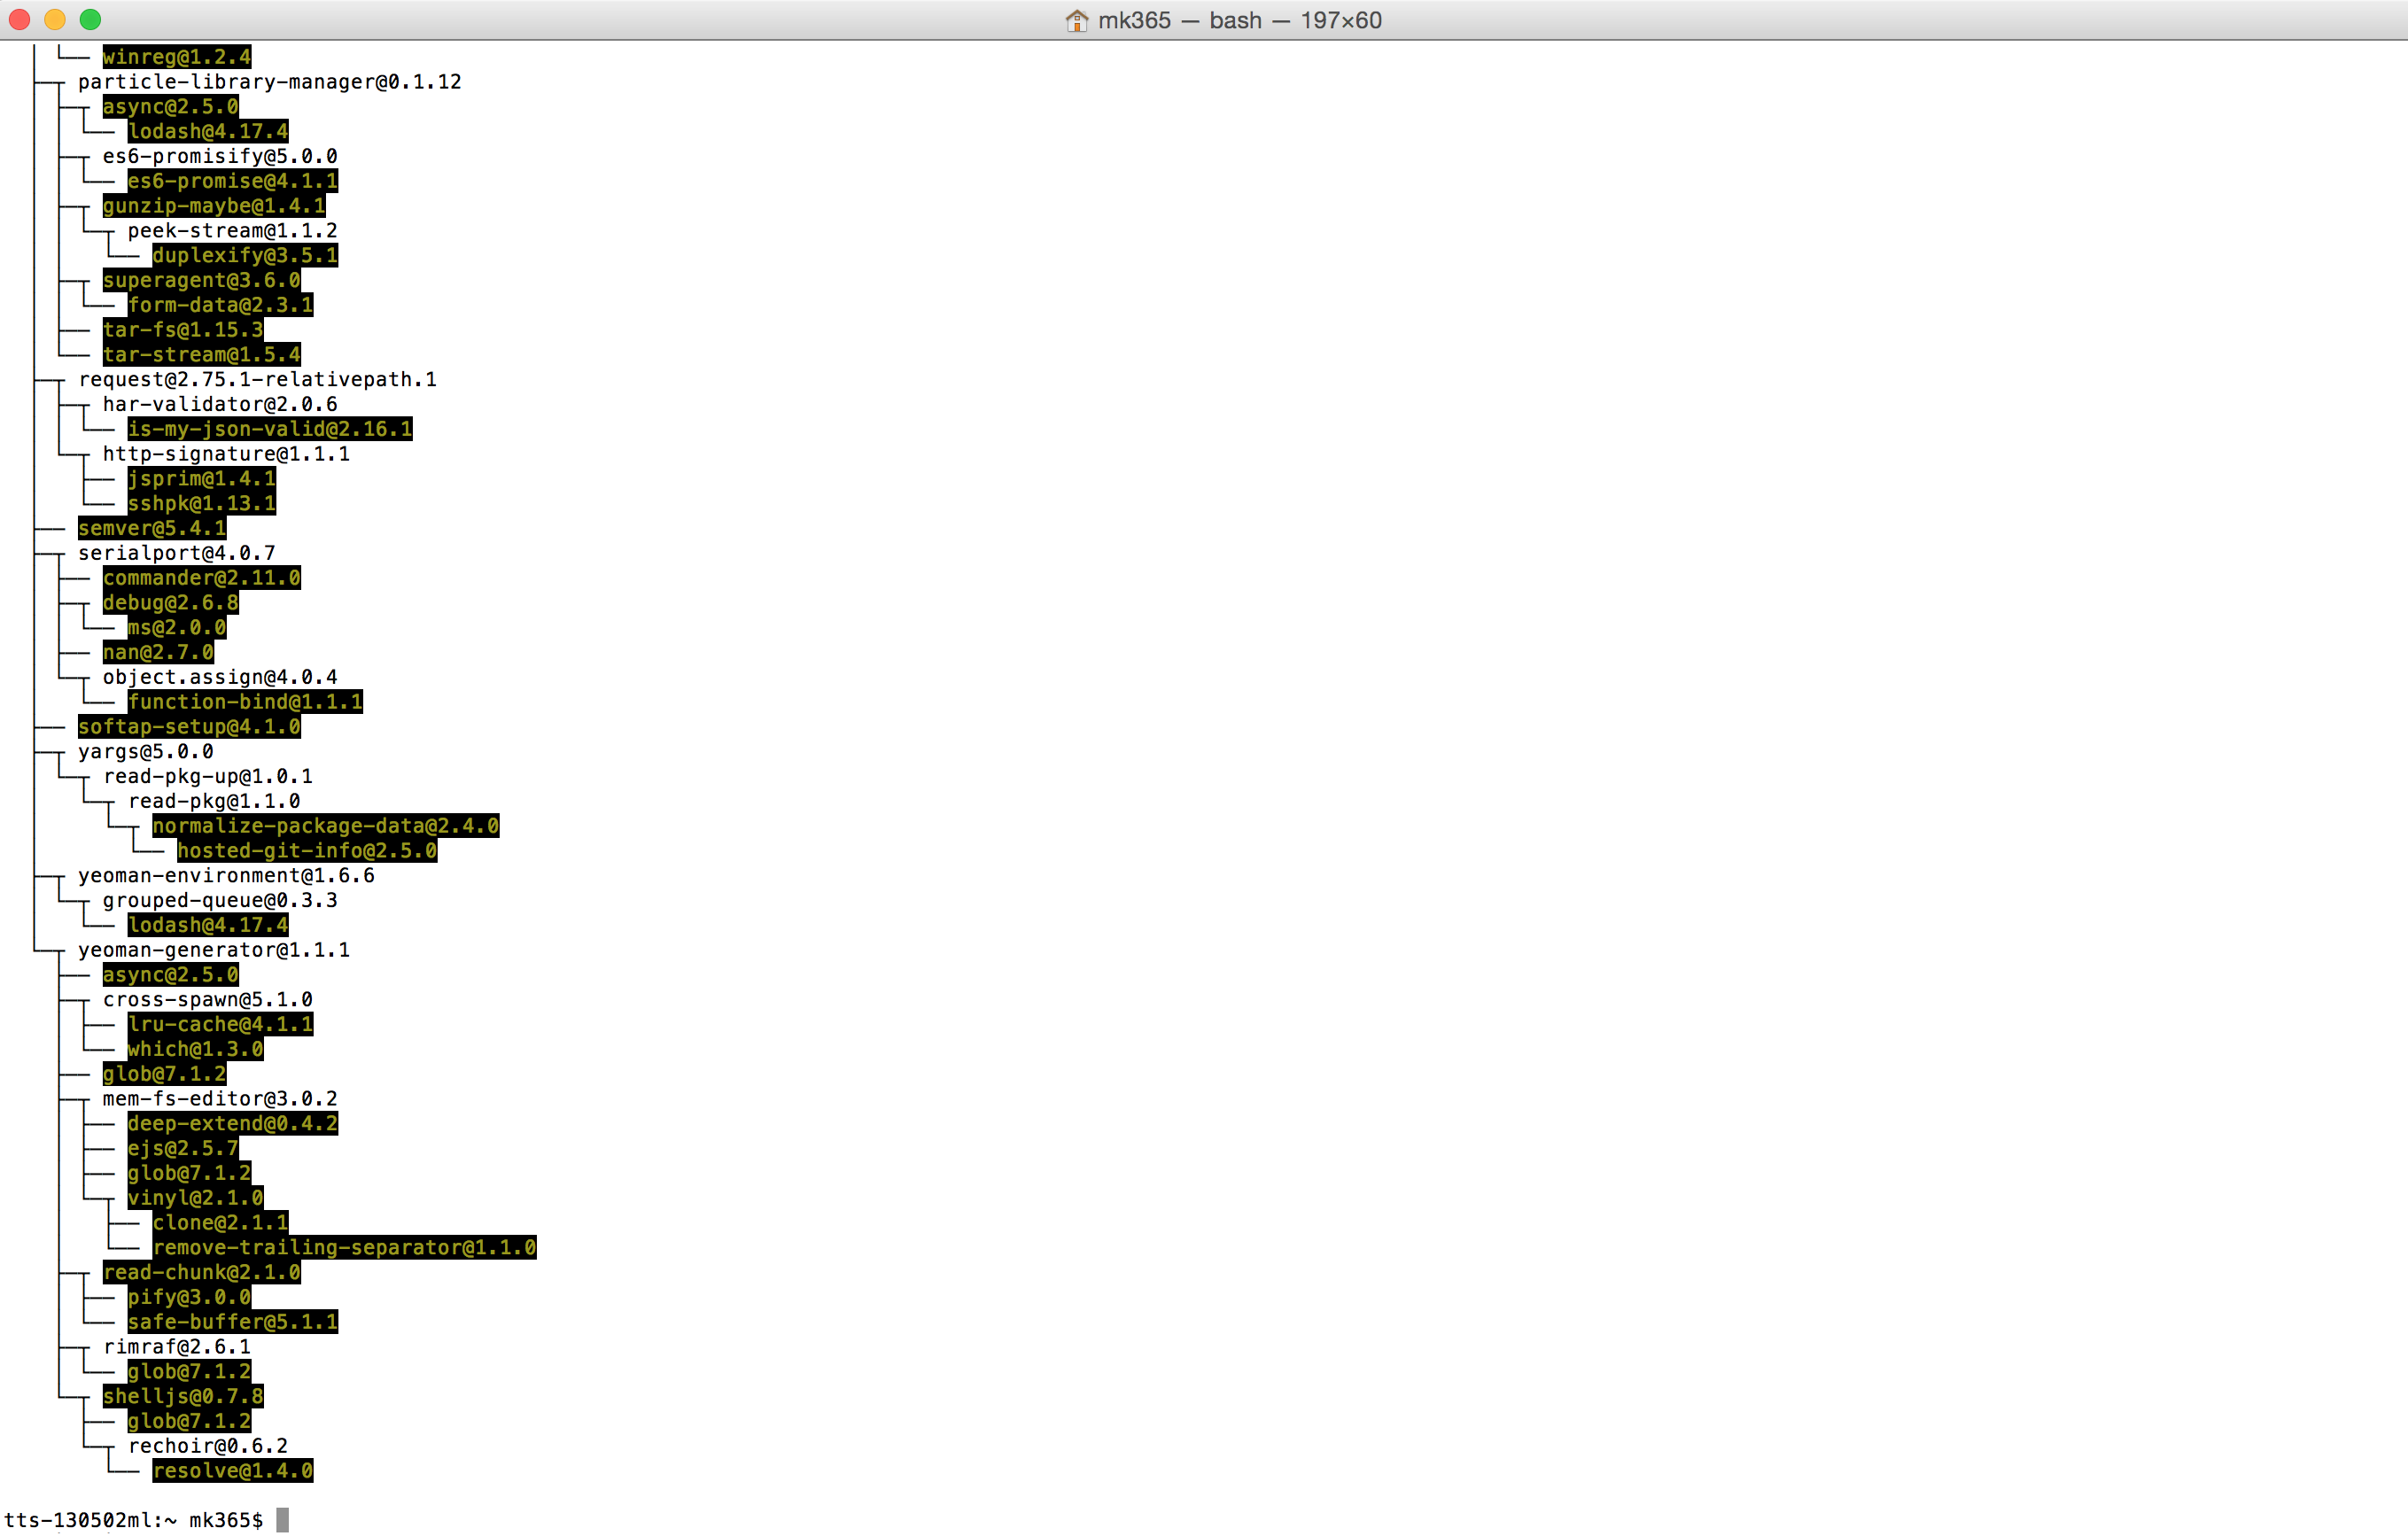
This command will install Particle CLI to your computer. You may see some errors along the way, but if everything works, you should see an output similar to this:

Step 2: Set up Your Particle Account.
If you haven’t created a Particle account, click here to create a new account.

After you have an account, return to your terminal/command line. At the $ prompt, type particle login, then follow the instructions to log in to your Particle account.
Step 3: Connect your Photon using the USB
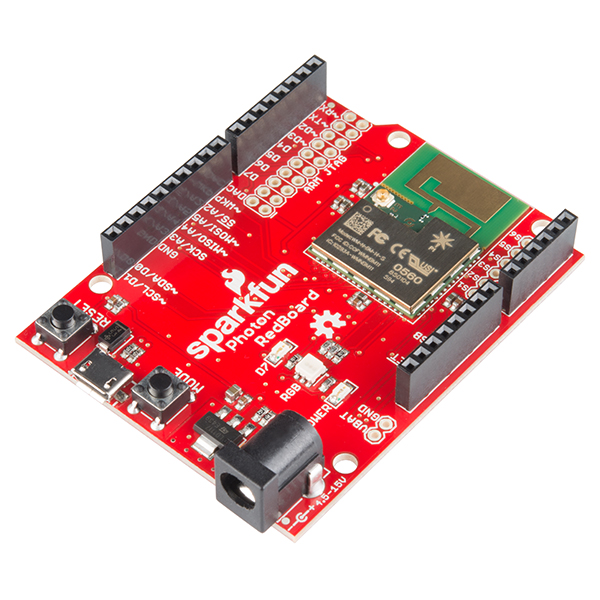
Connect your Particle device to your computer using the USB cable included in your kit.
After the device powers on, its onboard RGB LED should blink blue to indicate that the Photon is in “Listening Mode”. If your Photon is not in Listening Mode, press and hold the Mode button for 3 seconds until the onboard RGB LED blinks blue.
This page provides information to help you interpret the different colors and blink sequences and their associated device modes.
Step 4: Get the Mac Address of Your Photon
In your terminal, run particle serial mac to get the Photon’s mac address.
Step 5: Register Your Device to DukeOpen
Register your Photon’s mac address at DukeReg. (You will need to login with your NetId). If you encounter issues in Firefox with the page loading, you may need to clear your browser’s cookies and cache.
Be sure to give the device a clear description (e.g. “Photon Redboard 1”) and to register the device type as IoT Device.
Step 6: Claim and Set up Your Photon
In your terminal, run particle setup and then CAREFULLY follow the instructions on the screen. You may need to press the MODE button of your Photon to put the device in Listening Mode again so your computer can recognize it.
When selecting Wi-Fi options, be sure to use DukeOpen and choose “none” or “unsecured” for security settings. Be sure to give your Photon a name that you’ll remember easily.
You’ll know it’s connected when its on-board RGB LED goes from blinking green to “breathing” cyan.
Troubleshooting
There is a strong likelihood that your attempt to run particle setup will fail. There are known issues trying to connect Photons to enterprise wifi networks like DukeOpen. If you encounter these issues, with your device in Listening Mode, try:
particle serial wifi
When prompted, choose or enter “DukeOpen” and choose “Unsecured” for security type. Your Photon should restart. If it does not, press the “Reset” button on your Photon Redboard.
To claim your Photon (e.g. add it to your Particle account), you first need to get its deviceID. With the Photon in Listening Mode, enter the following at the $ prompt in your terminal/command line:
particle serial identify
and copy the deviceID that the command returns.
Now you can finally add the device to your Particle account using:
particle device add <deviceID>
Now you can finally give your device a human-readable name by using the following command:
particle device rename <deviceID> "SomeGreatName"
(Of course you’ll use a more clever name than “SomeGreatName”!)
Then, press the RESET button to restart your Photon and get it connected to DukeOpen wifi.
Part II: Deploy your Code to Photon
There are many different ways to push (or “flash”) code to your Photon:
- Use the online Particle IDE to write your code and flash the code to your Photon.
- Use the Atom-based Desktop IDE (Windows/Mac/Linux)
- Use the nano text editor and the particle-cli command line tools to flash the code to your Photon.
The instructions below outline how to use the particle-cli tool to create a simple script to blink the Photon Redboard’s on-board LED.
Step 1: Create an .ino file
In your terminal, make a directory to store your code: mkdir firstPhoton
Use the “cd” command to change to that directory: cd firstPhoton
Create a file called “blinky.ino”: touch blinky.ino
Use the nano text editor to open the file: nano blinky.ino
Step 2: Write code to blink the on-board LED (pin D7)
In line 1, declare your LED pin variable. Since the onboard LED is attached to digital pin 7, we’ll use:
int led = D7;
Skip a line, and then use the setup() function to set the led pin to function as an OUTPUT:
void setup(){
    pinMode(led, OUTPUT);
}
Finally, we’ll use the loop() function to blink the onboard LED on and off every second:
void loop(){
    digitalWrite(led, HIGH); //turn LED on
    delay(1000); // wait 1 sec
    digitalWrite(led, LOW); // turn LED off
    delay(1000); // wait another second
}
Press CTRL-x to save the file.
Step 3: Log in to your Photon Account.
Type particle login in your terminal/command line window and then follow the instruction to login to your account.
Step 4: Deploy your Code
Since we have only the one file to deploy, just type particle flash DeviceName blinky.ino (where DeviceName is the name you gave your Photon Redboard when you set it up in Part I).
Note: this command is only useful when your file is in your working directory. If the file is not in your working directory, you can either use $ cd to go to the working directory or replace the name of your file with absolute file path.
If your code is contained in several files, create a new folder and then put all the files (Include .h and .cpp library files) in that same folder, and then use particle flash DeviceName path/folder to deploy your code. The path/folder argument should be your folder’s absolute file path.
Tips:
If you need to transfer your Photon to other users, be sure to go to Particle Console and click on the ... to choose Unclaim Device. Otherwise, other users will not be able to claim this device.
If you have any other questions, contact your instructors and/or refer to Particle CLI Docs for help.