GitHub is a software service that lets users securely store and manage their code. Since we’ll be diving into this coding in this course, we’ll be using it as our main data storage spot.
Github is built on top of Git, a free and open source version control system. A version control system keeps tracks of every change in your code, allowing users to go back to previous versions, save or “push” new version of code, and create “branches” for trying out new ideas without overwriting old code. Version control systems are used by every developers and are crucial to keeping sane, and allowing them to try new ideas without repercussions. Code is saved in “repositories” that look like this:
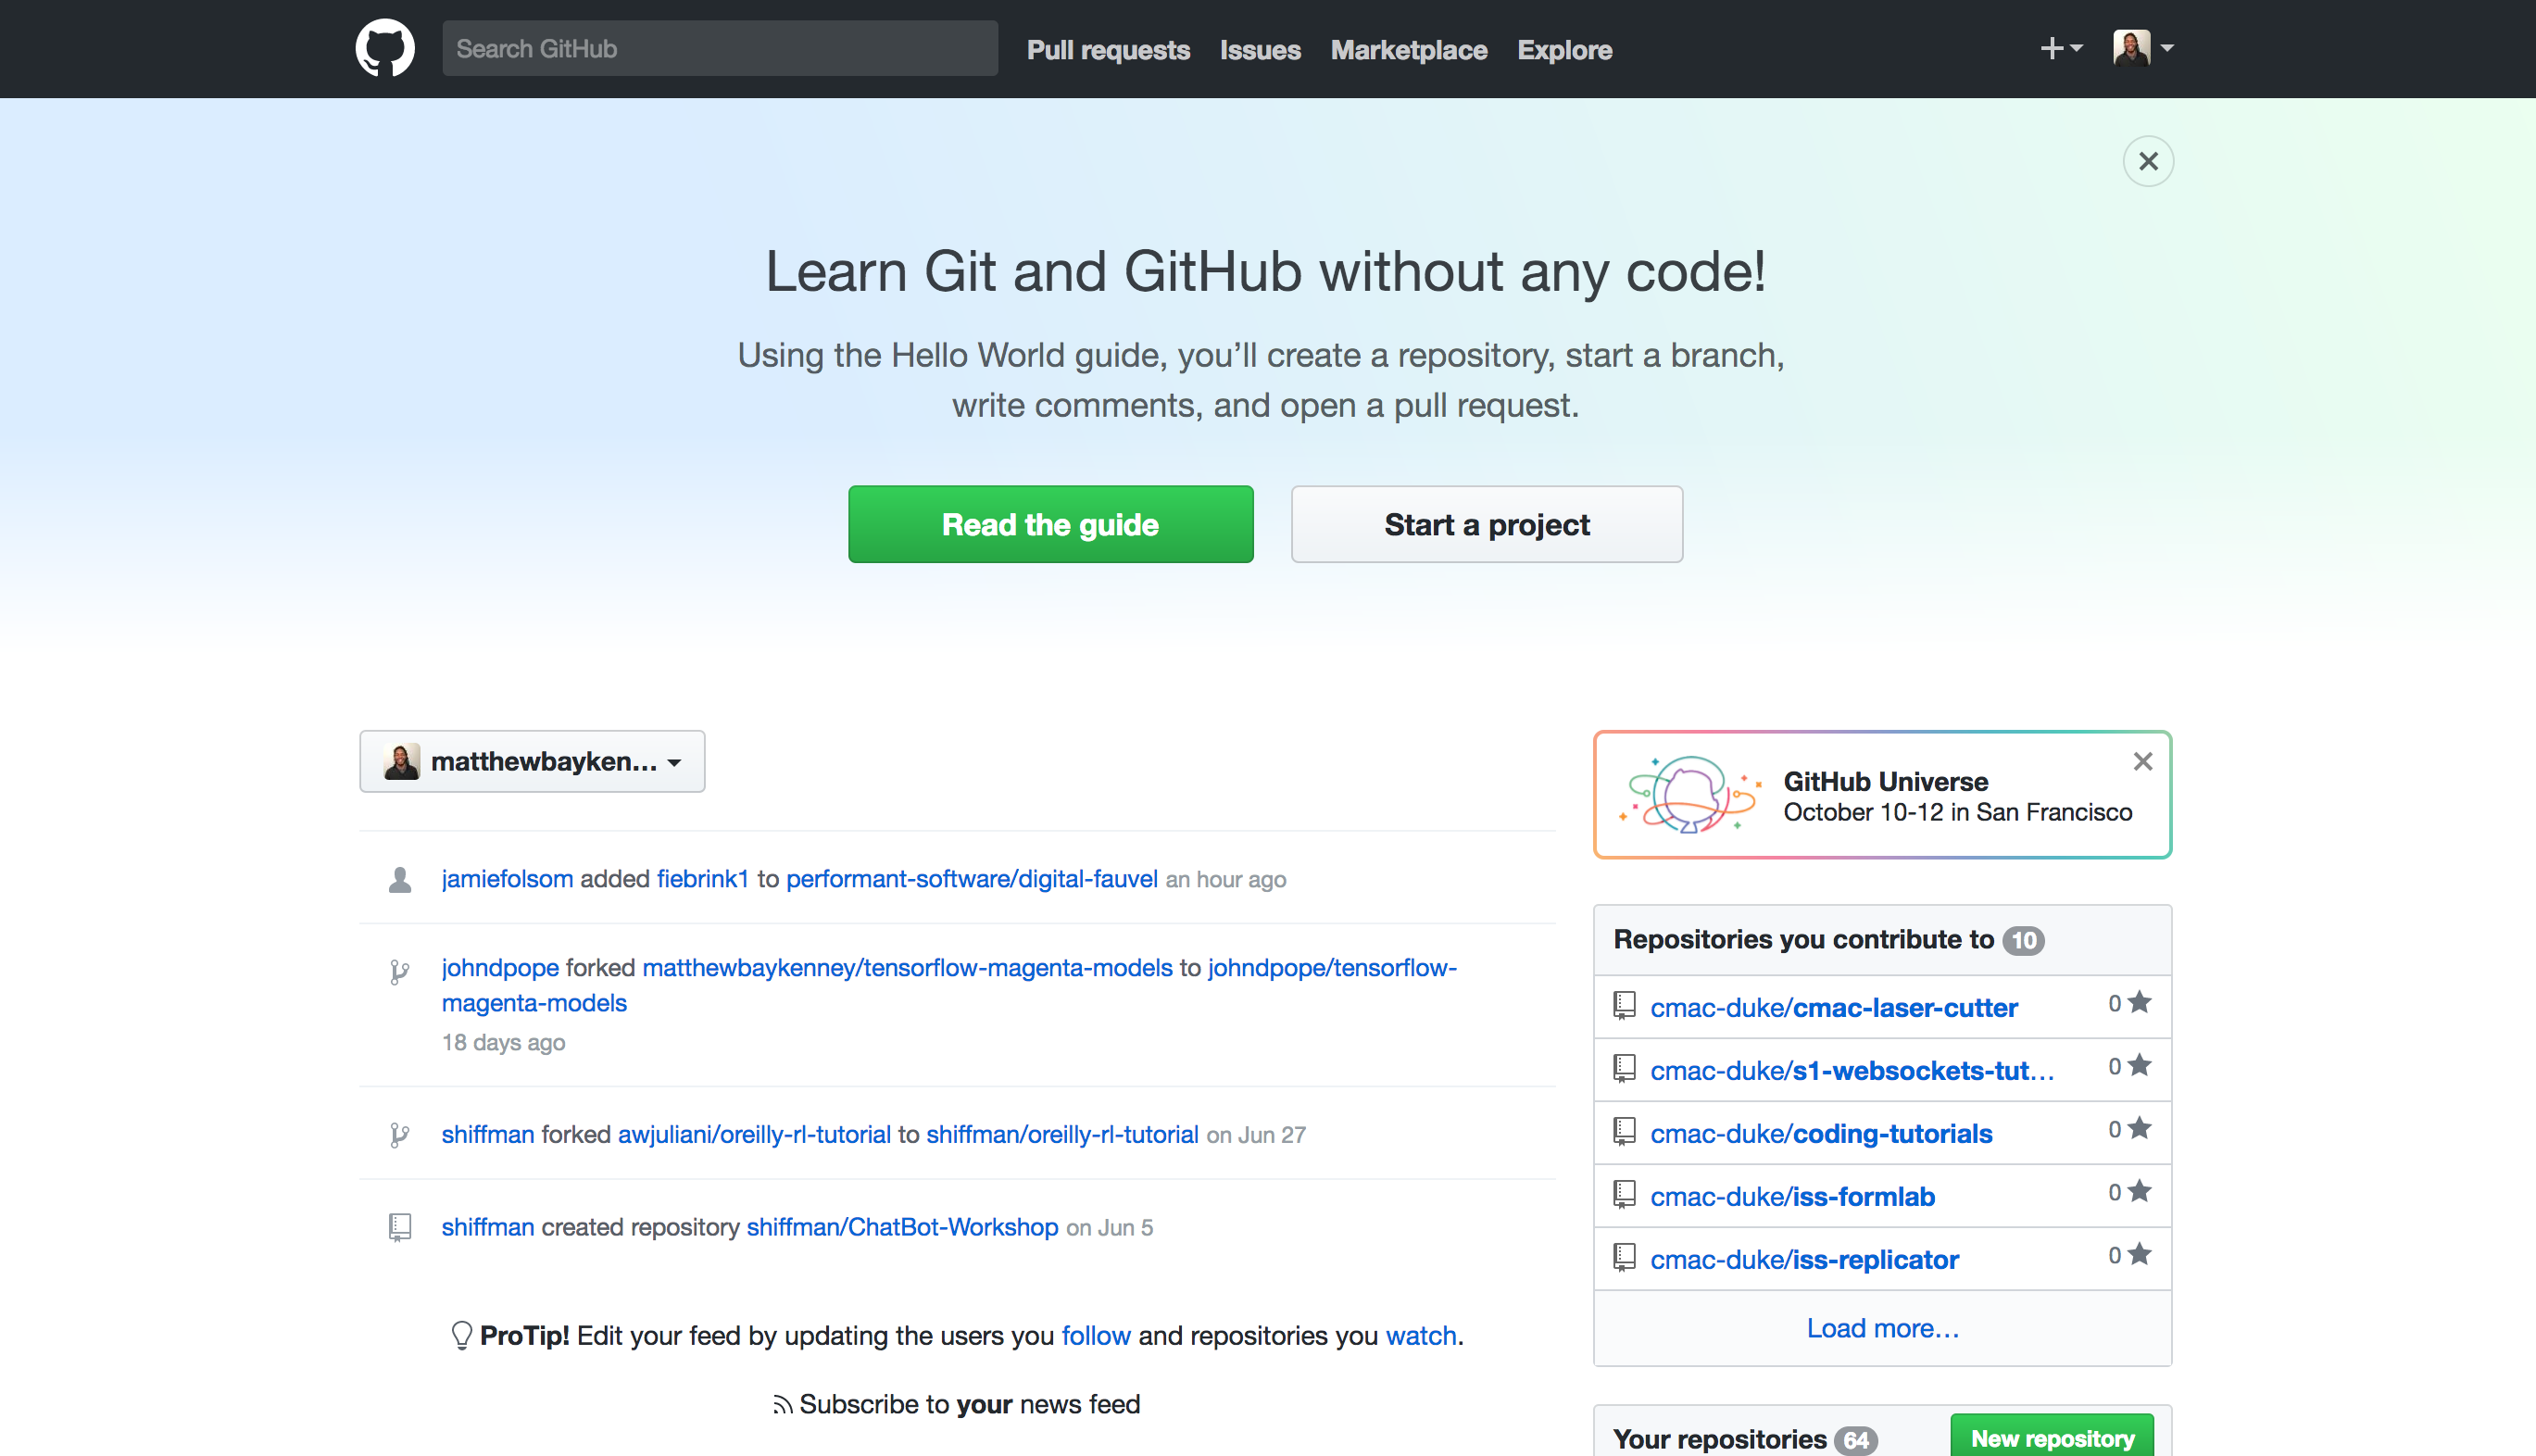
GitHub is a “hub” for developers Git repositories. It also serves as a social network, allowing users to store, share download, and collaborate on coding project. It is used by everyone from Facebook to NASA and is a standard place for developers to work on thier projects.
We’ll be using GitHub to turn in assignments, keep track of progress, and share our code with each other and the outside world.
To start using GitHub, we’ll first have to get used to the command line. You can think of the command line like your computer, but without an interface. If we were to remove the desktop, all of the folders, and icons, and work only with text, that’s how the command line operates. The command line can be used through a application called ‘Terminal’. It can be found in your ‘Applications’ folder, under ‘Utilities’
Applications
├── Utilities
     └── Terminal
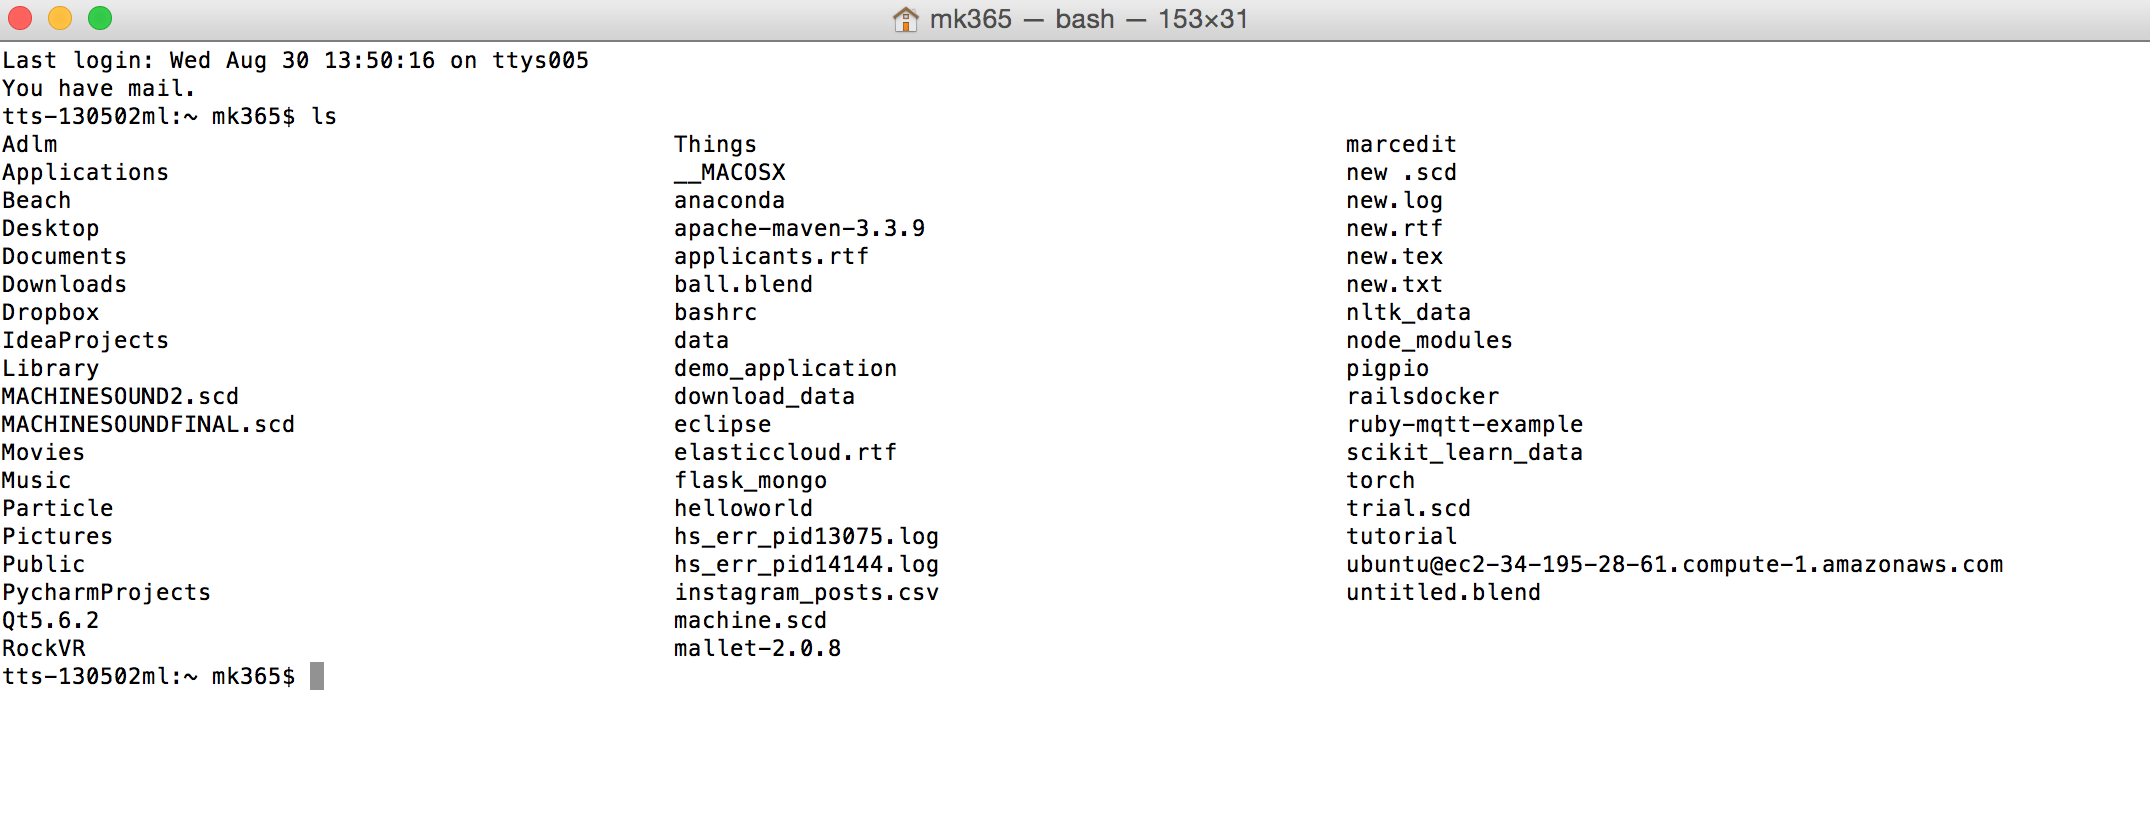
When we open terminal, we should see a white screen with the name of our computer followed by a dollar sign.

Lets try our first command by typing ls and hitting enter
We can see that we are in the User directory of our computer. Lets try getting out of here with our next command cd ~/Desktop. this tells the computer, ‘cd’ or “change directory” to the Desktop.

We can see that we’re now on our Desktop. Our terminal should show ‘your-computer-name:Desktop user$’
We can check that we’re on the by running ls again. If we look at the output, it check it against the folder that our on our actual desktop, we can see that they are the same.

For practice, lets continue to try to move around our computer. We’ll use cd to “change directories” into different folders. Pick a folder on your desktop and run cd 'Your-Folder-Name'. Try ls again to check the contents of that folder.
If you need to go back one folder, try cd .. to go back to your previous position.
If you want to check to see were you are on your computer, you can always run pwd and check the output.
We’ll be using the command line a lot in this class, so its good to get used to running commands. We’ll also be using it for GitHub to upload our projects.
GitHub uses the git command to initialize it. We’ll continue to learn different commands in terminal. Commands that start with git refer only to git command, while other commands can be used any time.
Lets go back to our Desktop with cd ~/Desktop. Next we’ll make a folder to store our first project. To make a folder, run the command mkdir Your-Folder-Name
If we ls again, we should see that the folder that we created is on the desktop. We’ll cd into that folder.
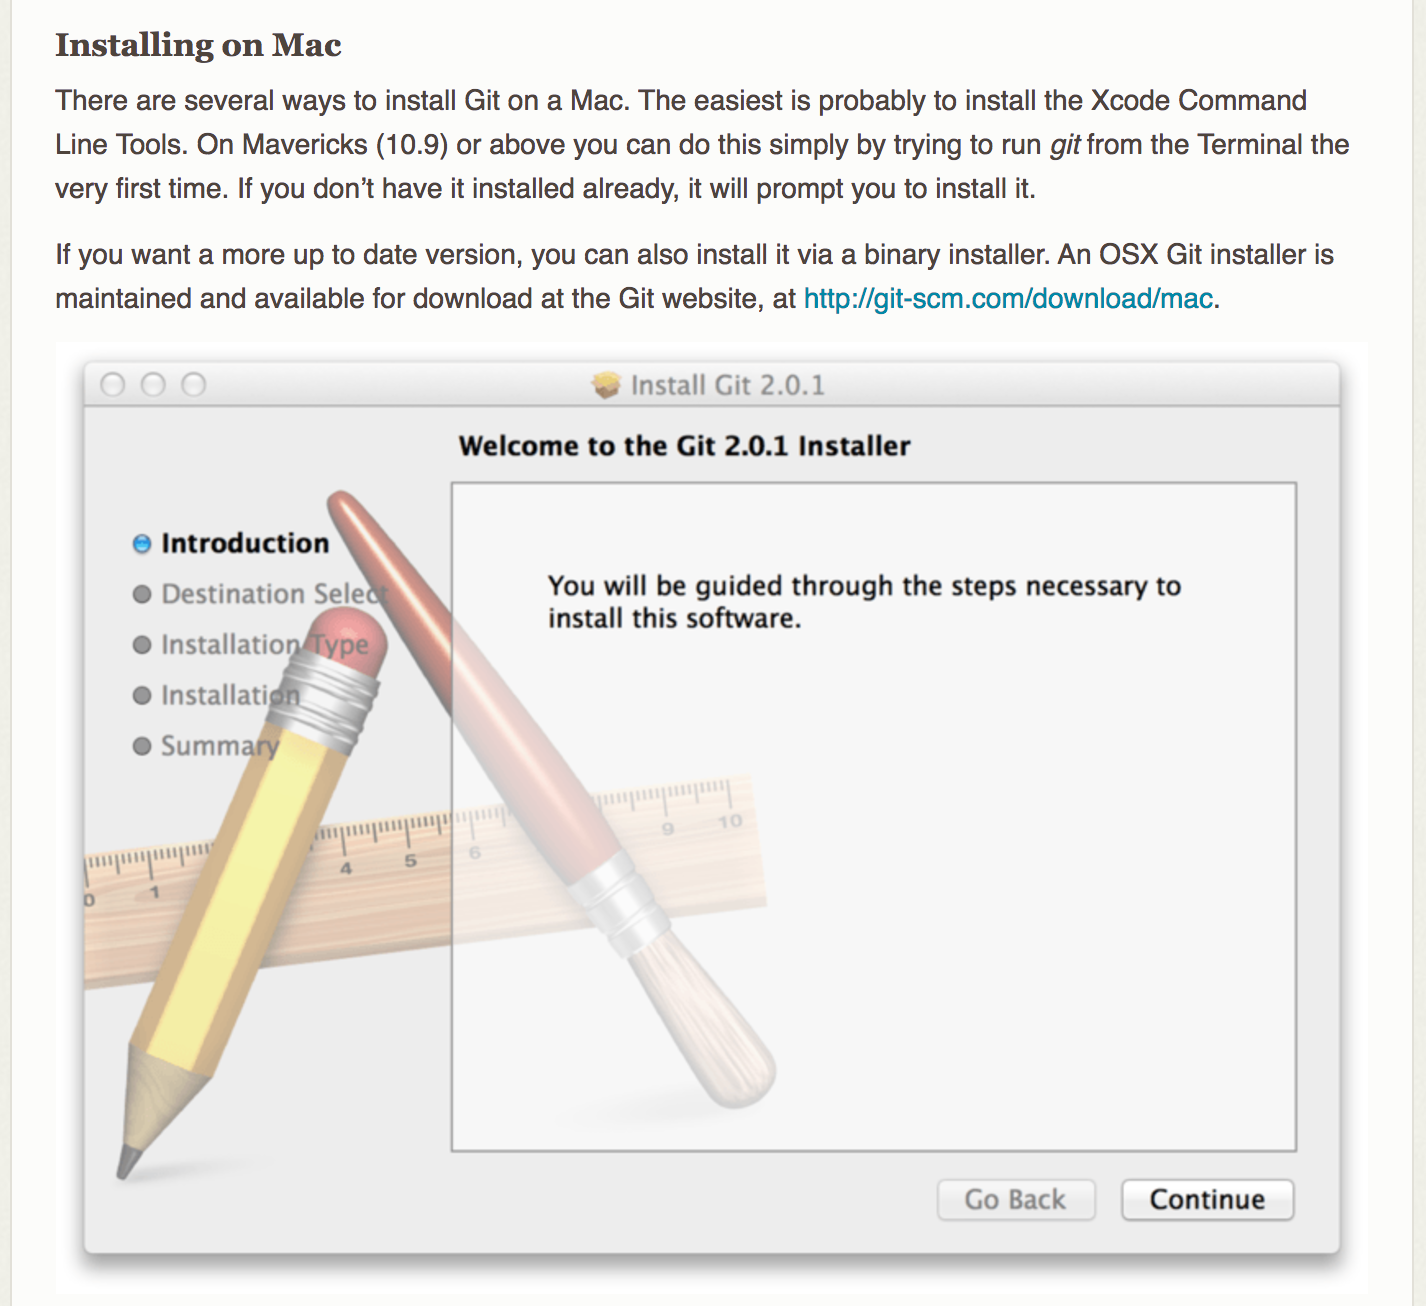
To use git, we’ll first have to install it. If you’re on Mac or Windows, there are prebuilt binaries with that we can download from https://git-scm.com/book/en/v2/Getting-Started-Installing-Git
We should now be able to run the git command from terminal to ensure that it is installed correctly.
From there, should now be able to start using GitHub. First we’ll make a GitHub account
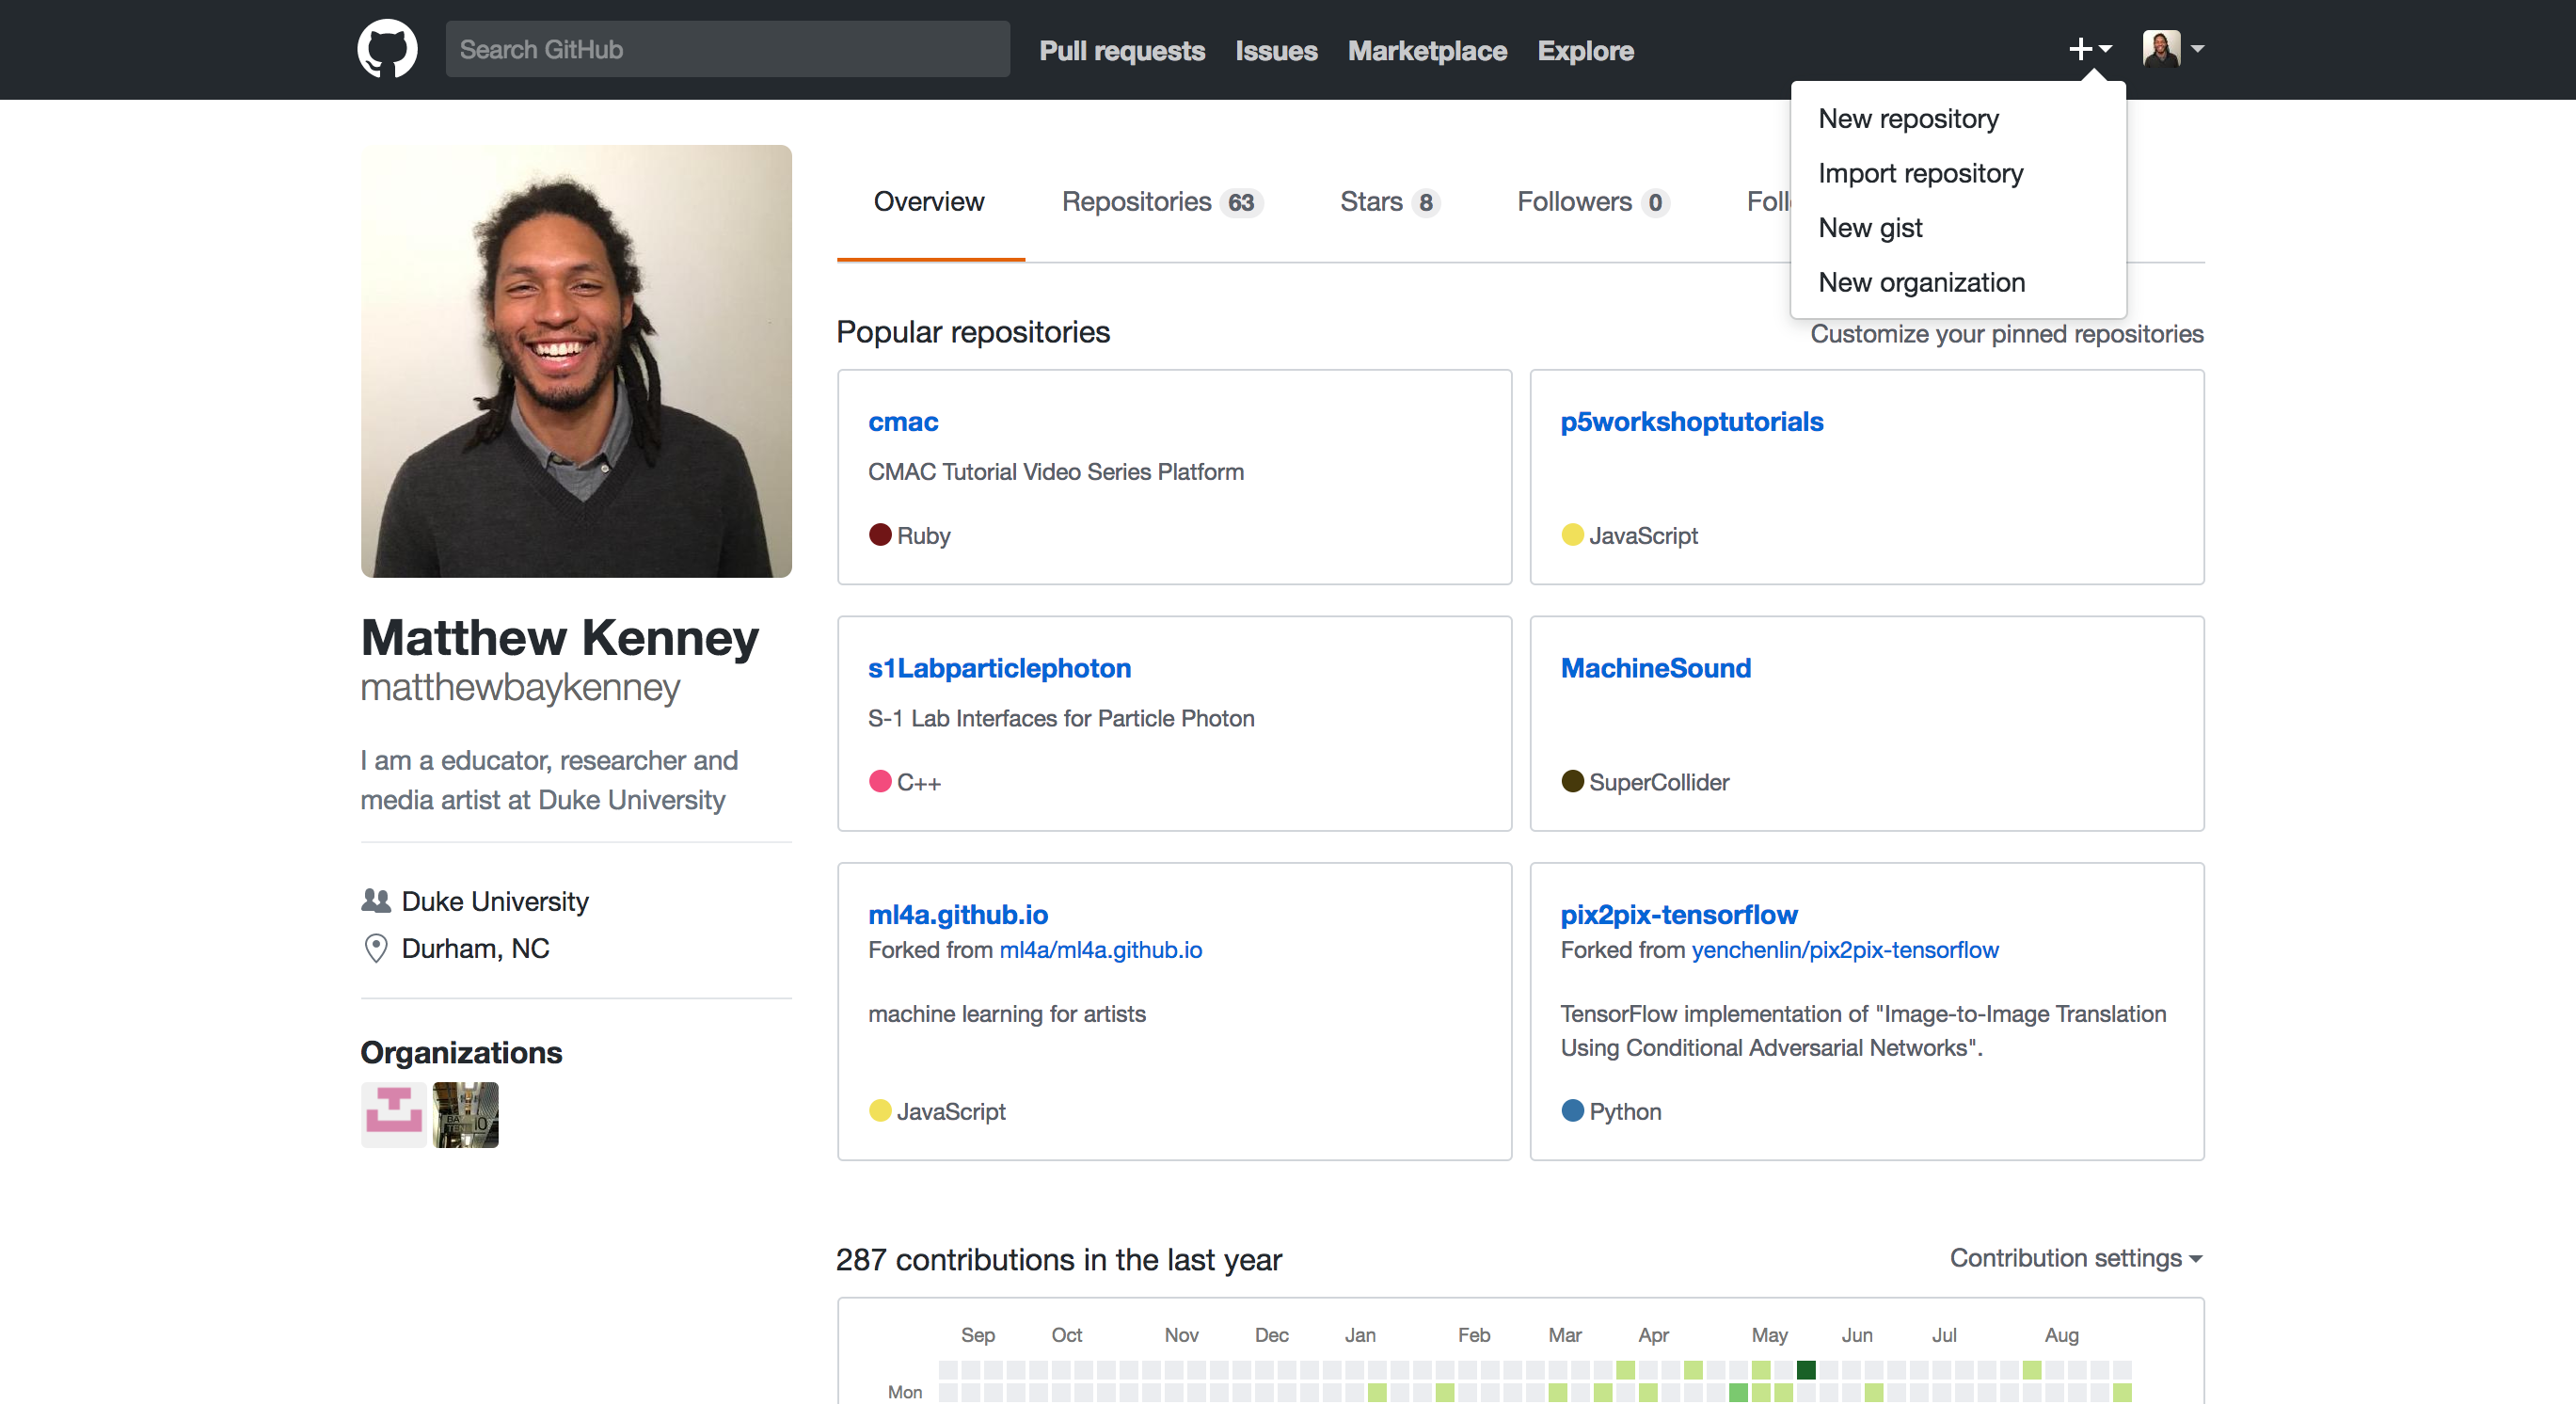
And we’ll make a new repository for our code. I’m calling mine ‘hello-world-tutorial’
Back at the command line, we’ll create our first file. We’ll cd into our folder. Next we’ll run touch hello_world.md

If we ls again, we should see that there is a new file in our folder called
hello_world.md
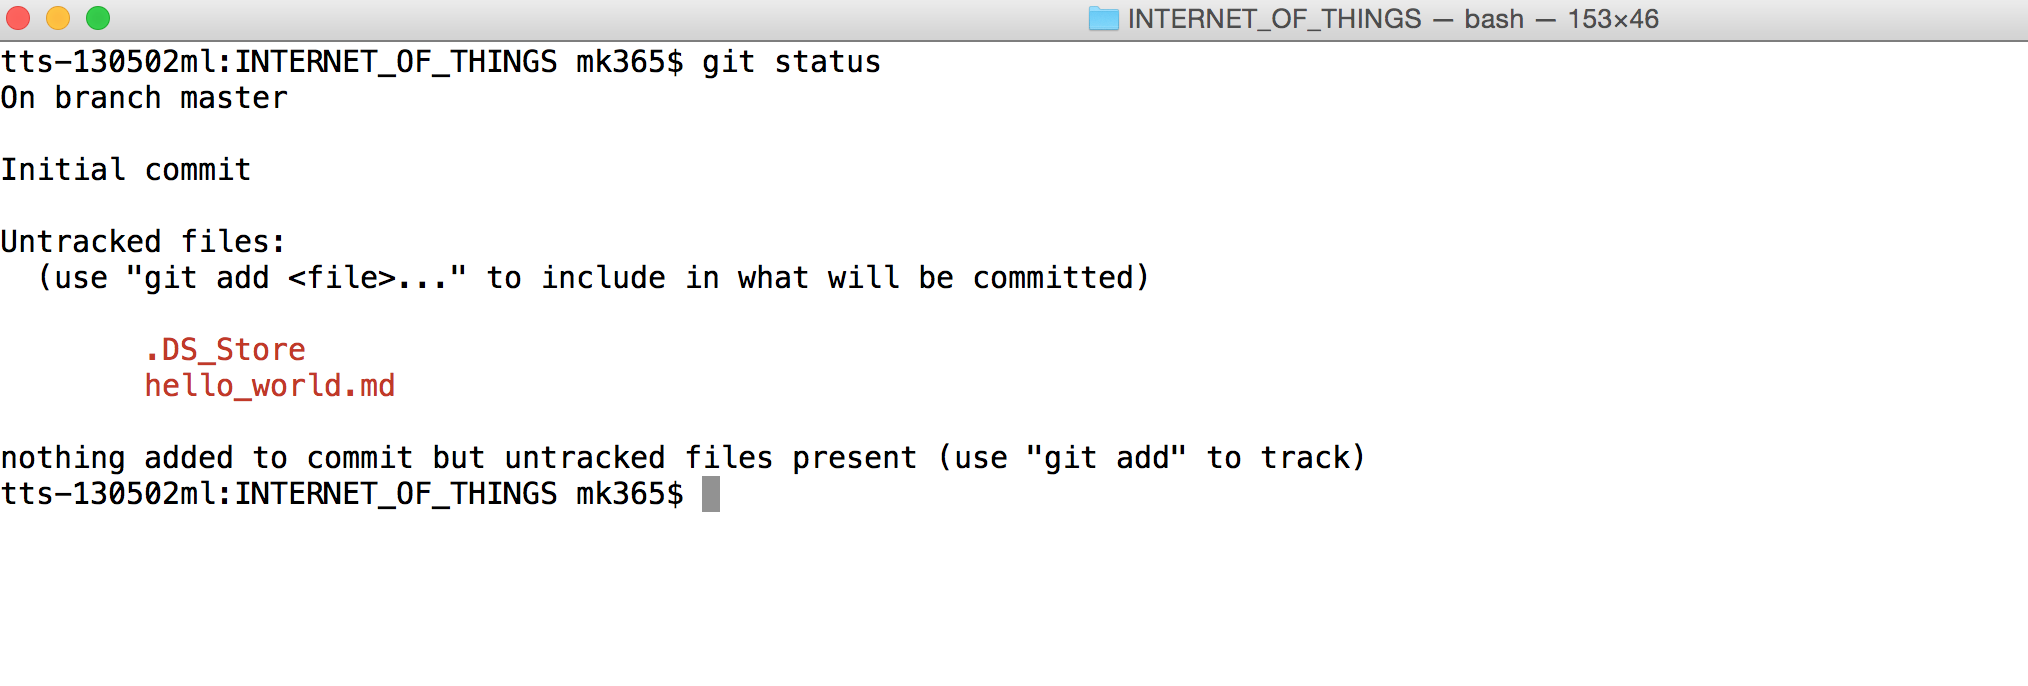
Next, we’ll initialize our repository. We’ll run git init to initalize our repository. You should see output like this

Lets run git status to see what files are going to be tracked by Git. We can see that I have two “untracked” files ‘.DS_Store’ and the file that we previously created ‘hello_world.md’. Don’t worry if there isn’t a ‘.DS_Store’, you dont need it.
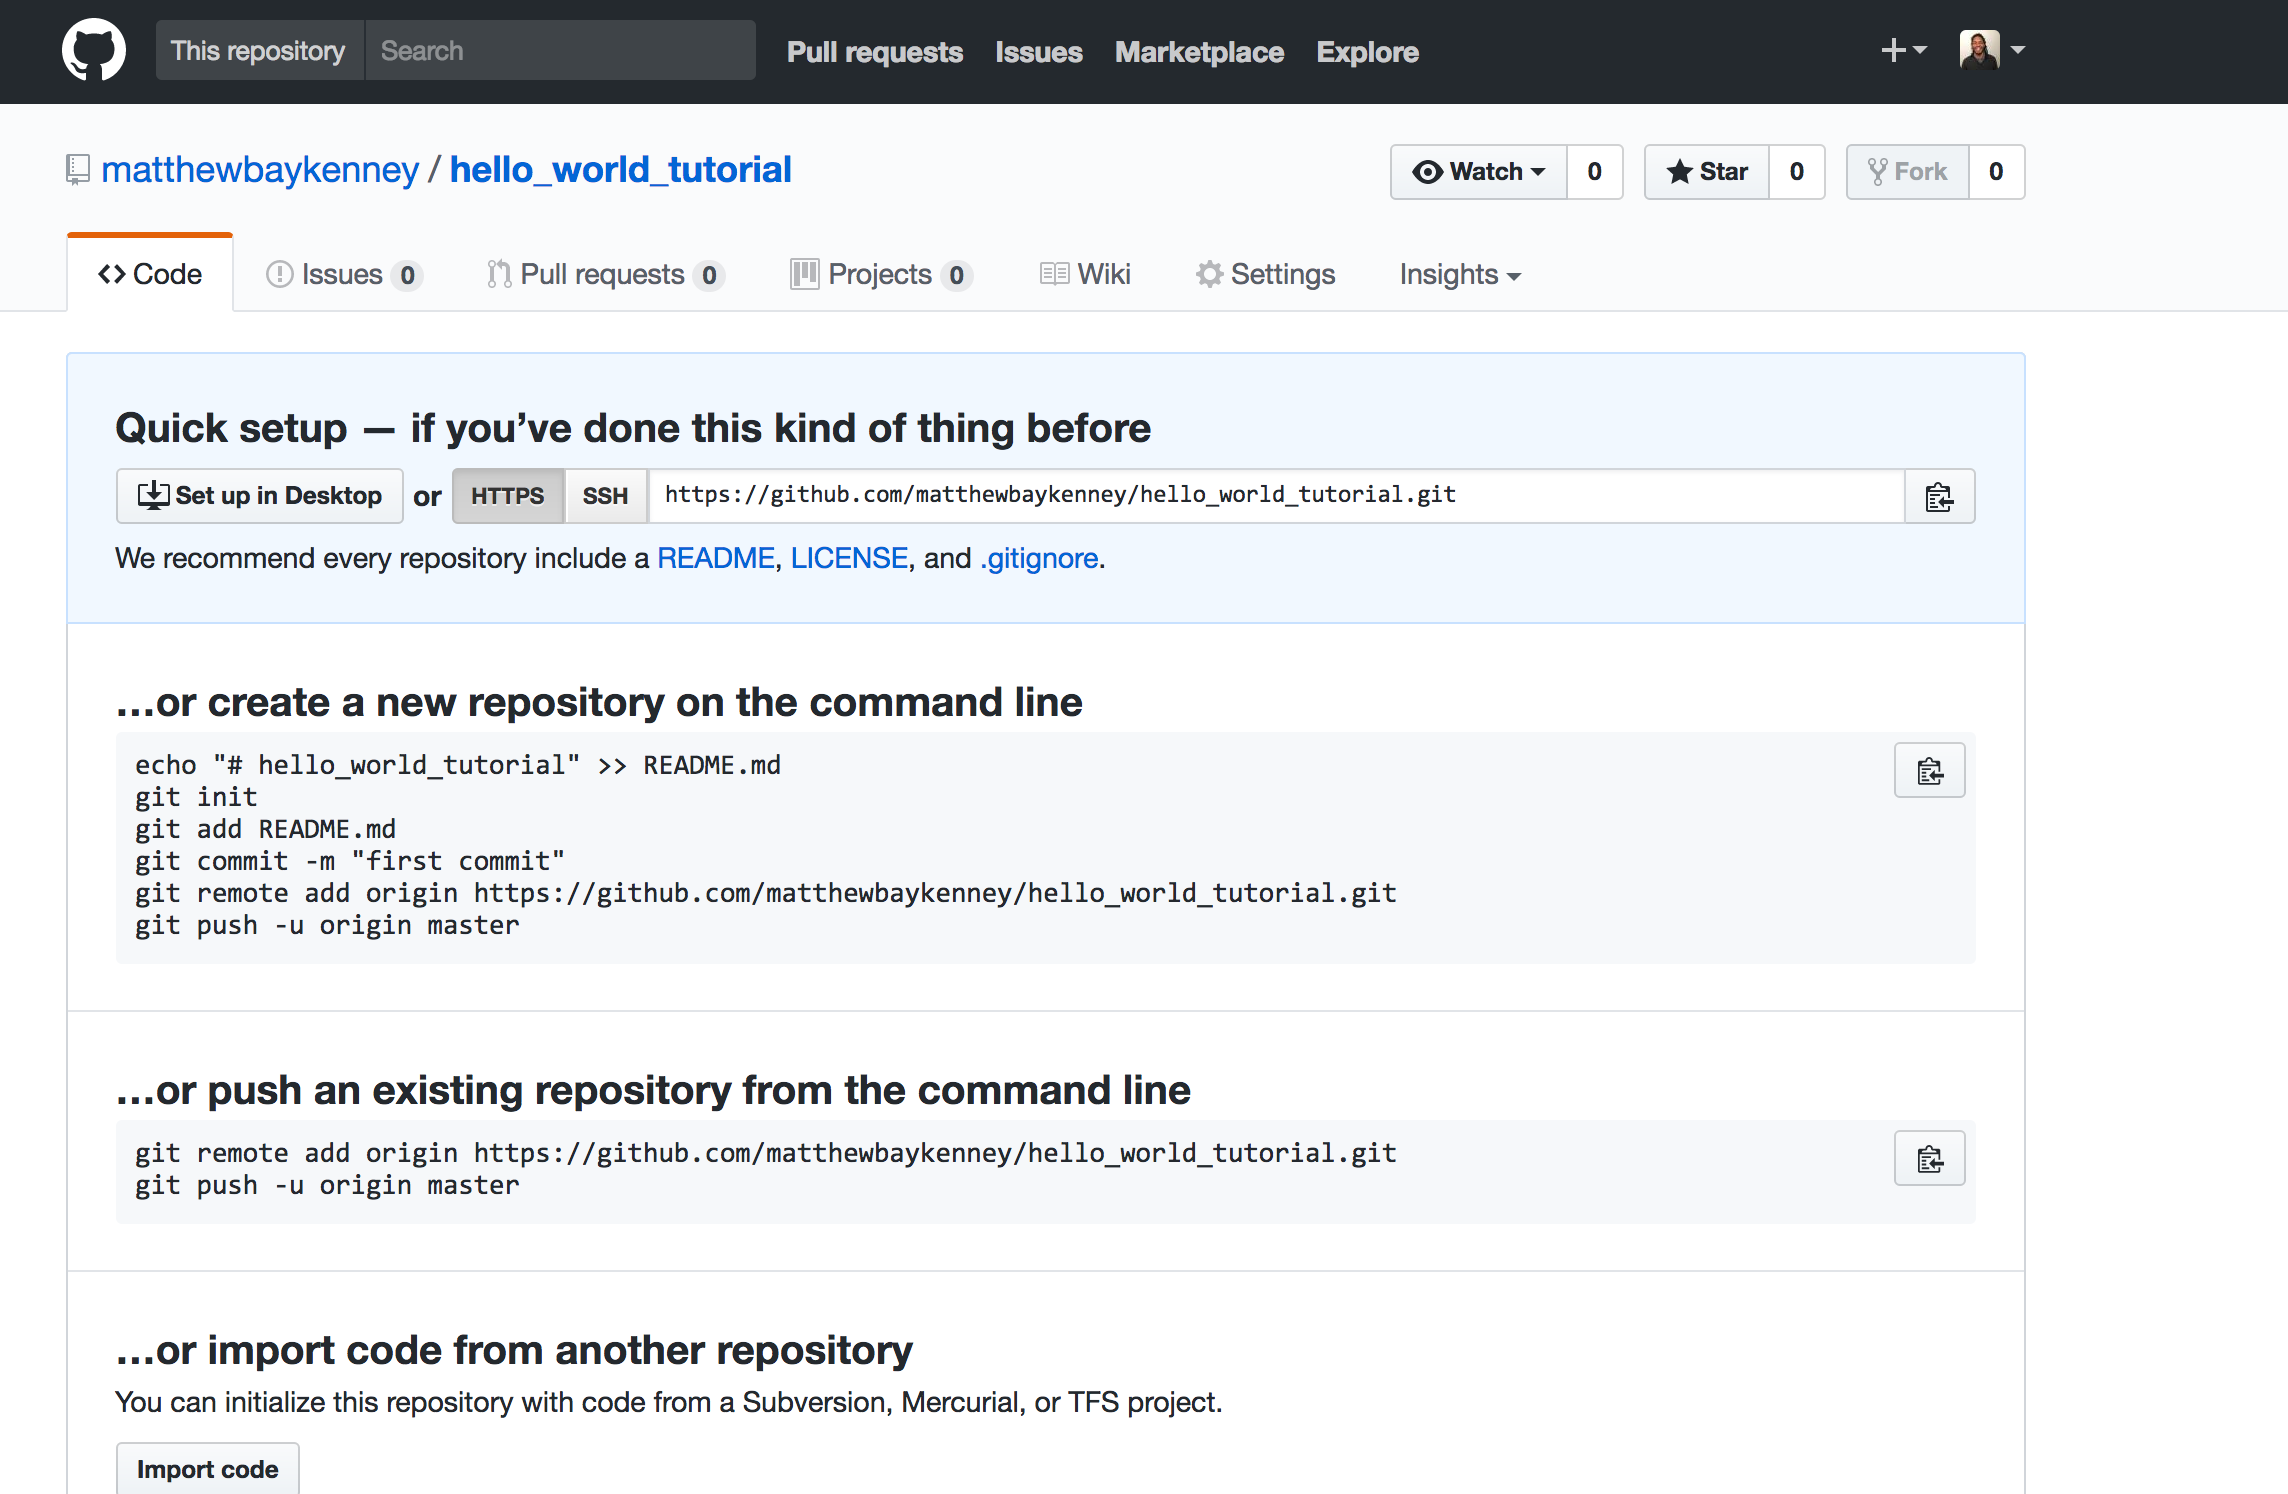
Next, we can really follow the commands per the GitHub page.
We’ll run git add . to add all of our files. The “.” at the end just means “all”.
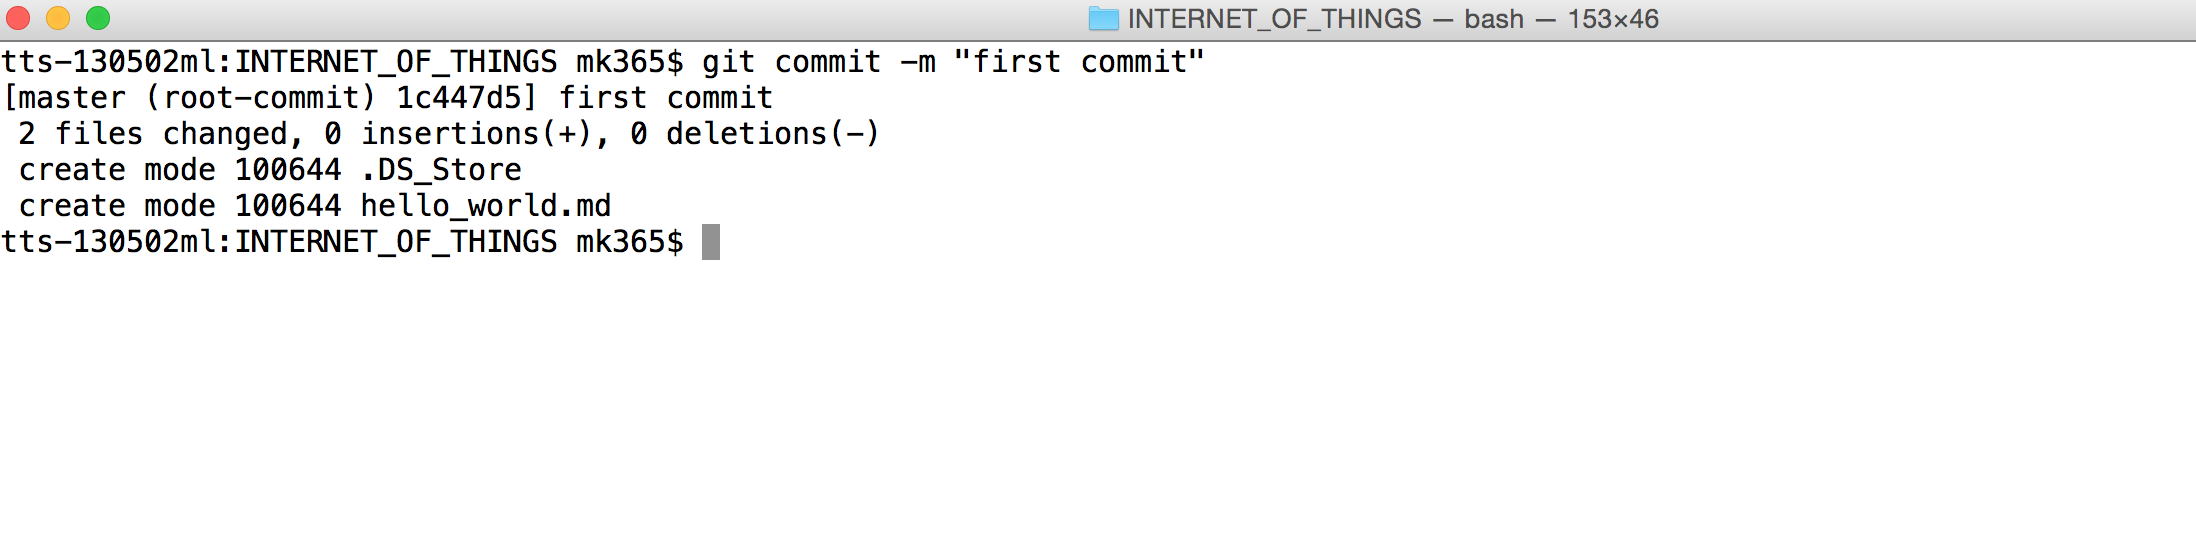
Then we’ll run git commit -m "first commit". This gives our commit a message. your message can be anything, it doesn’t have to be “first commit”. In fact, its good practice to have your commit message reflect the work that you’ve done. This will help you navigate the change that you made without having to look to far into the code. If I add a variable to my code, my commit message should be something like git commit -m "added a new variable"
Next, we’ll have to add the “origin” to our repository, so that when we change file and save them, git will know where to store the code. We can run git remote add origin https://github.com/matthewbaykenney/you-repository-name.git
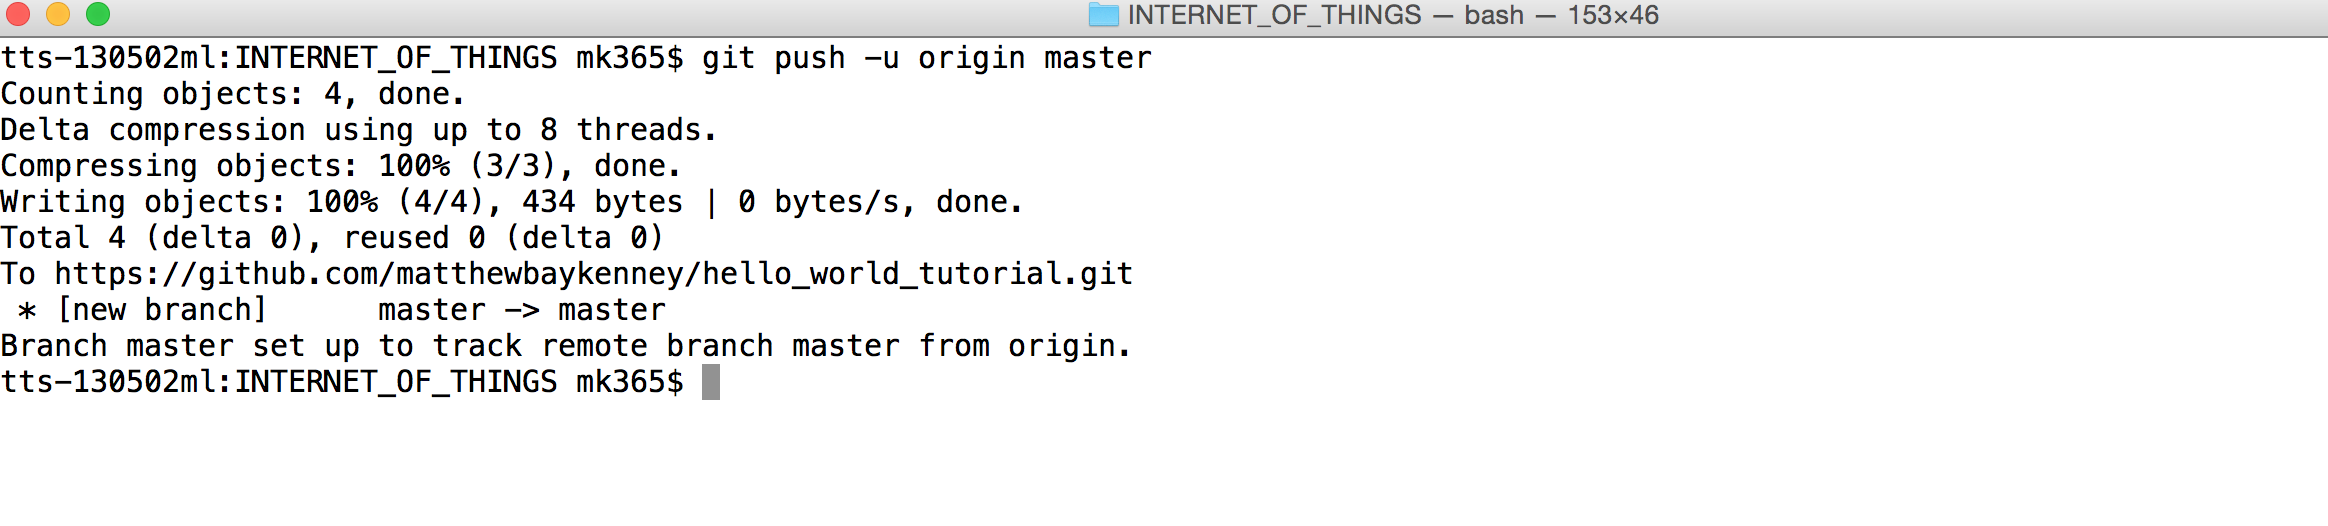
Lastly, we’ll have to “push” our code to github. “Push” really means just saving it or adding it to the repository. For git, we “push” code to GitHub, and “pull” code from GitHub. Let’s run git push -u origin master. The “origin” command sets the origin of our repository, and the “master” command means the master branch. We’ll get into branches later. For now we should see output like this:
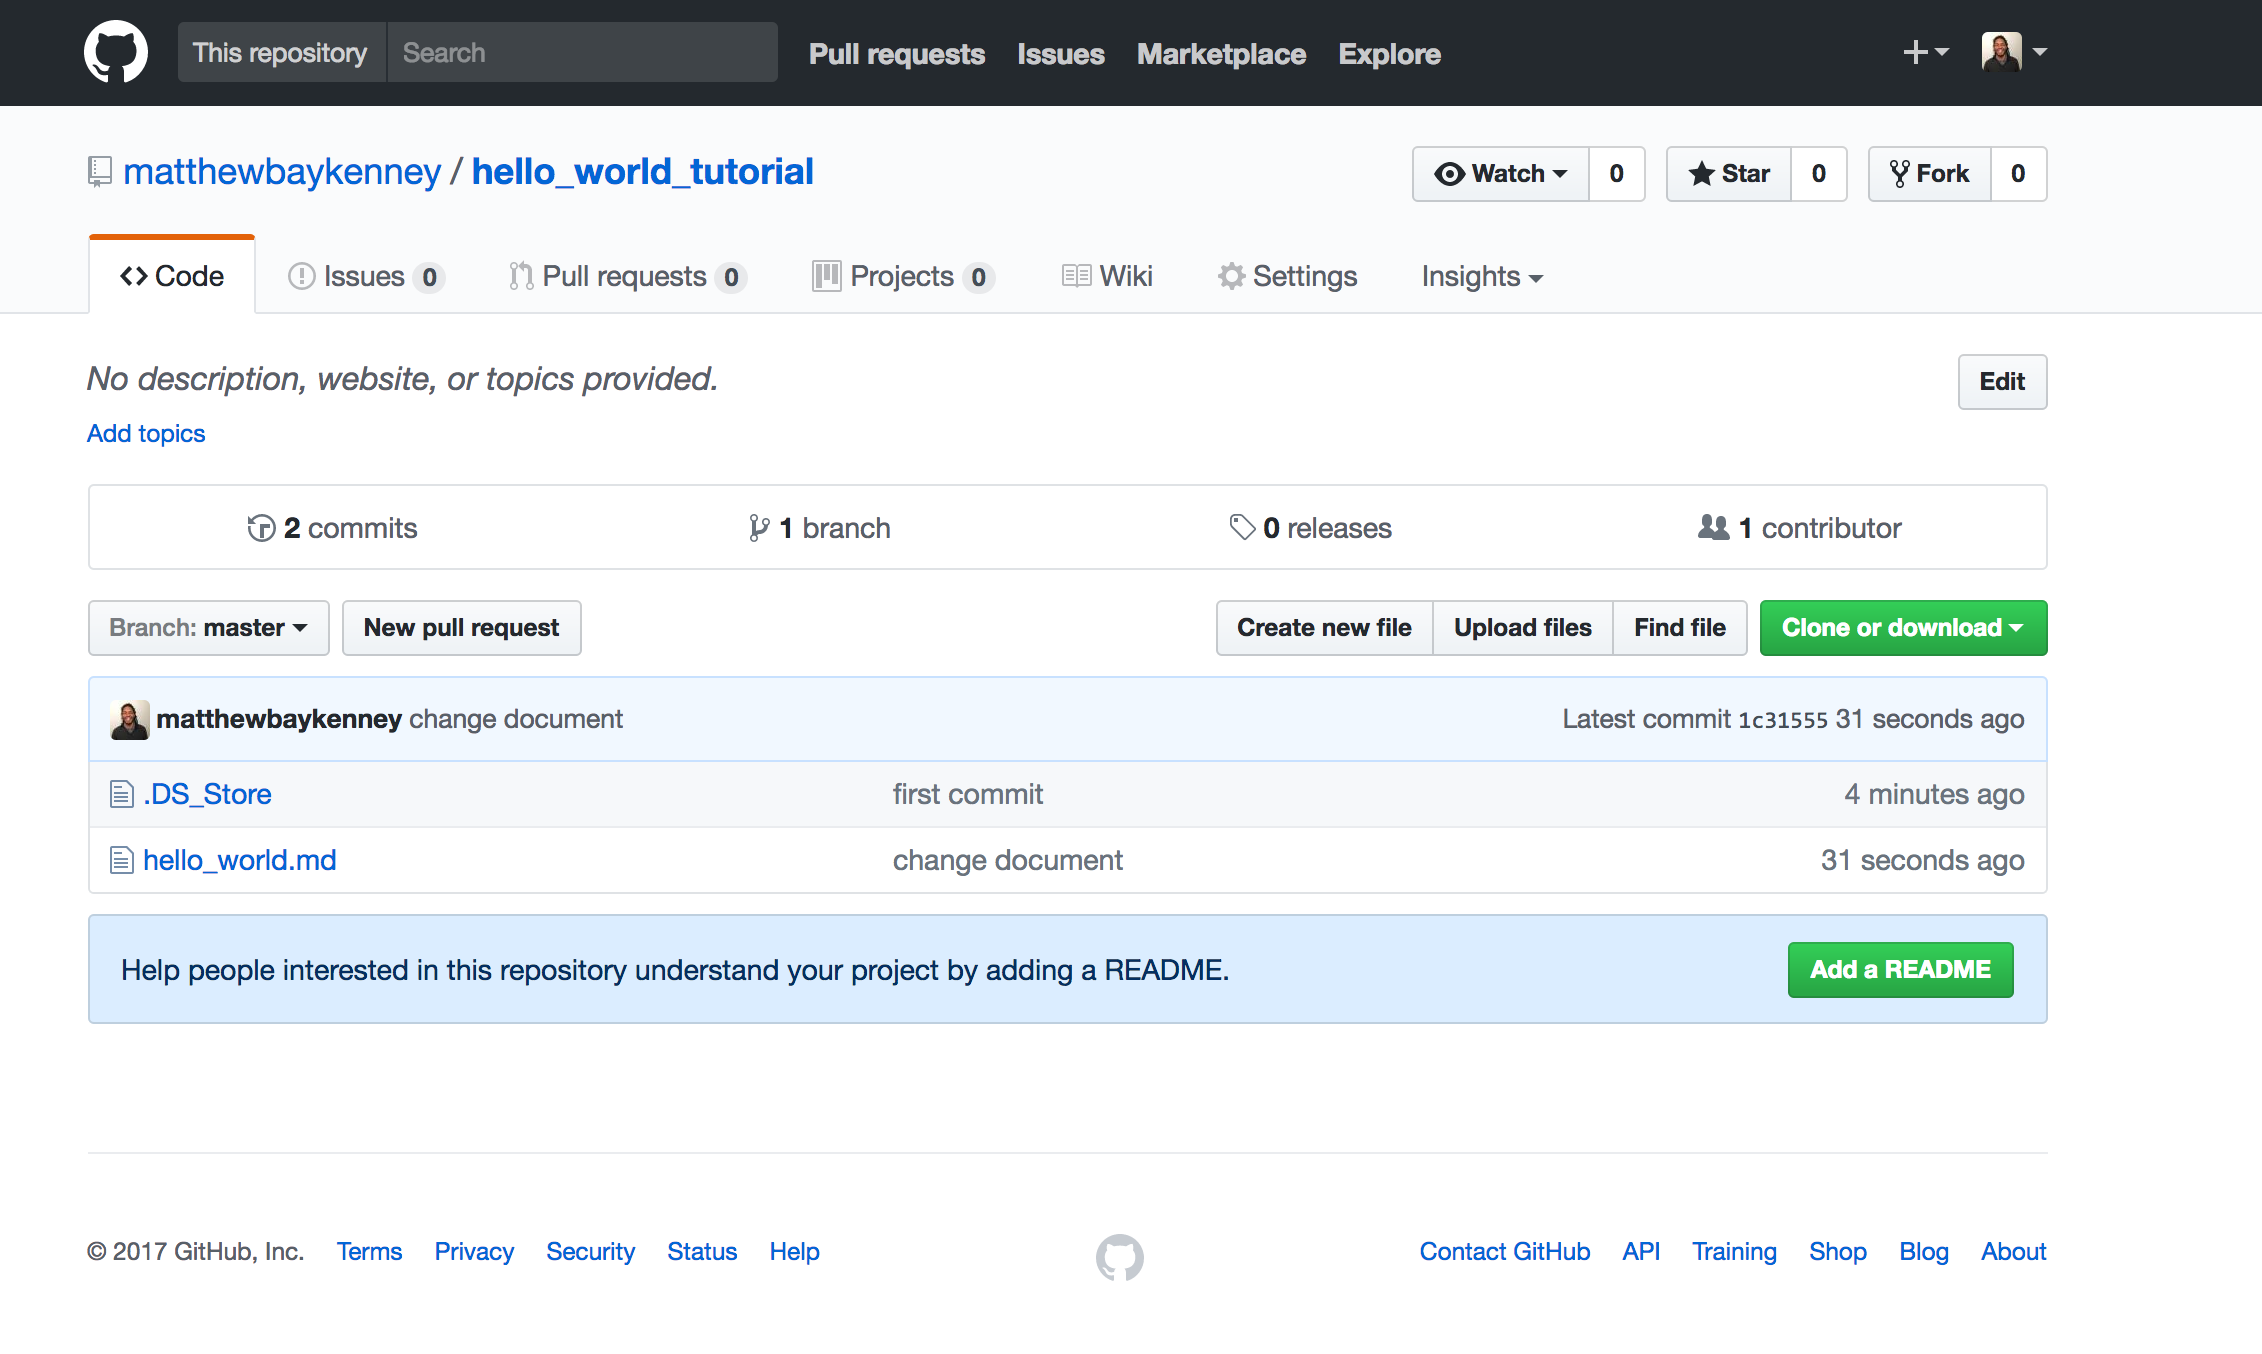
We should be able to check out our repository at out github account and it should look something like this:

Congrats!!!! You officially created your first GitHub repo!! This is a huge step.
The setup process and understanding how everything fits together is challenging. Now that we’ve got our feet wet the rest should be pretty straightfoward.
Lets change some of our code and make another commit to see the workflow in action.
We should be back in the Terminal inside the folder for our project. Lets open up ‘hello-world.md’ and make some changes to it by writing “hello world!” or whatever else you want to write in the document. Save the document and go back to terminal.
Now we can run the commands again without any setup. It should be pretty smooth from here.
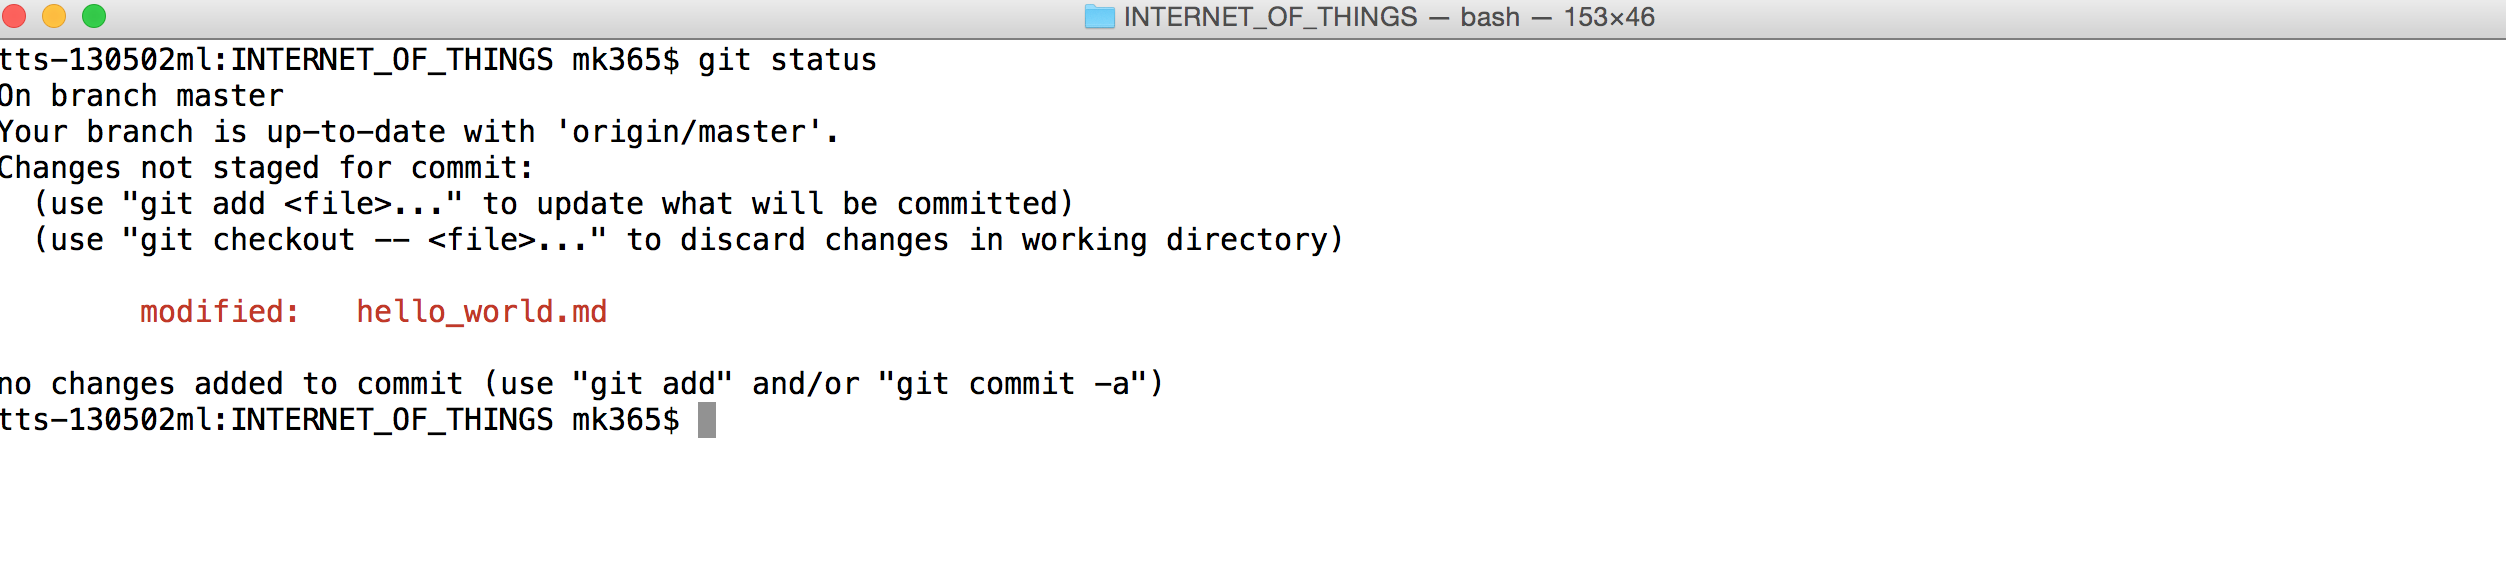
From the command line, run git status. We should see in the output that git has recorded that one of our document has been modified.
This is great! Version controll is as easy as changing our documents and saving them, like we would in any other application.
Next we’ll run through basically the same commands as last time, but without the setup work.
Run git add . to add the document changes.
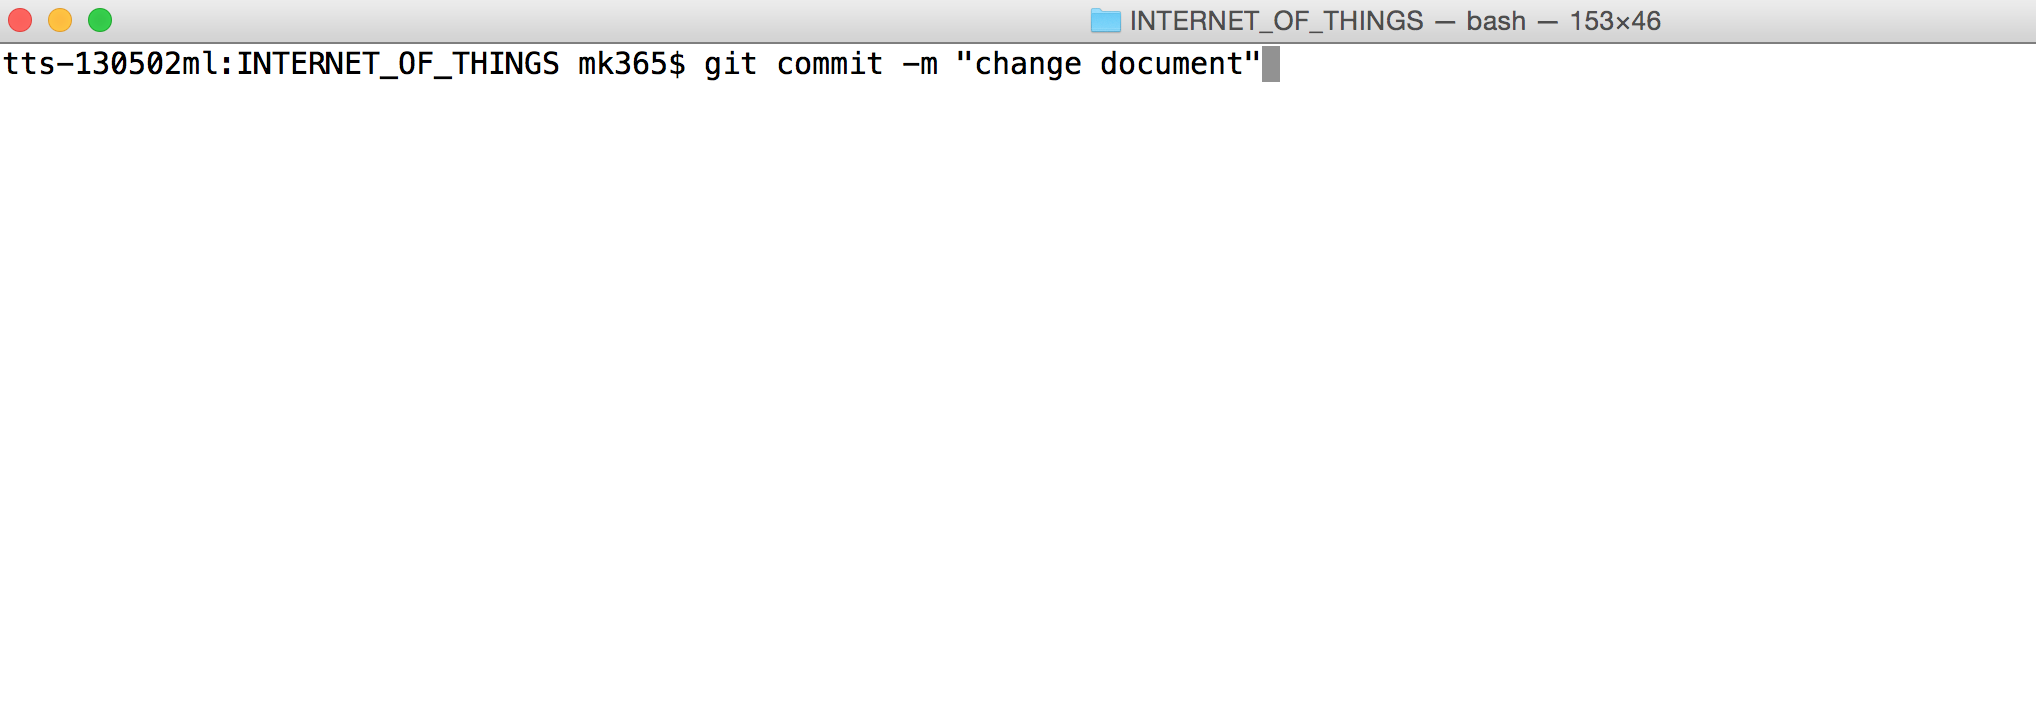
Then run git commit -m "changed the document" to give the document a commit message. The commit message, again, can really be anything.
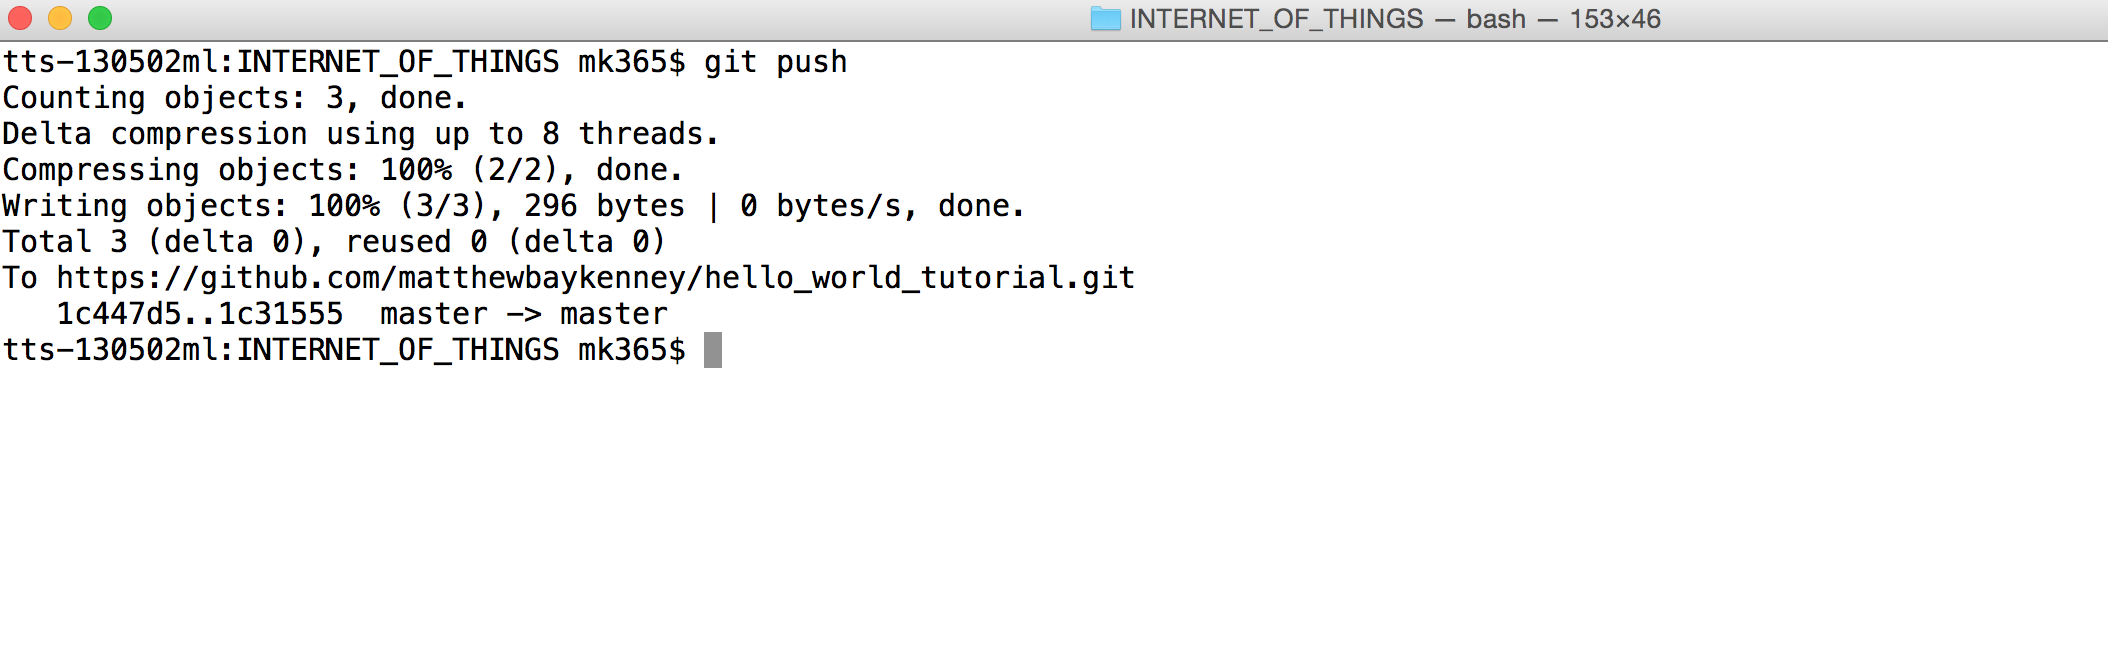
Next we’ll run git push to “push” the new changes to our repository. Again the output should look like this
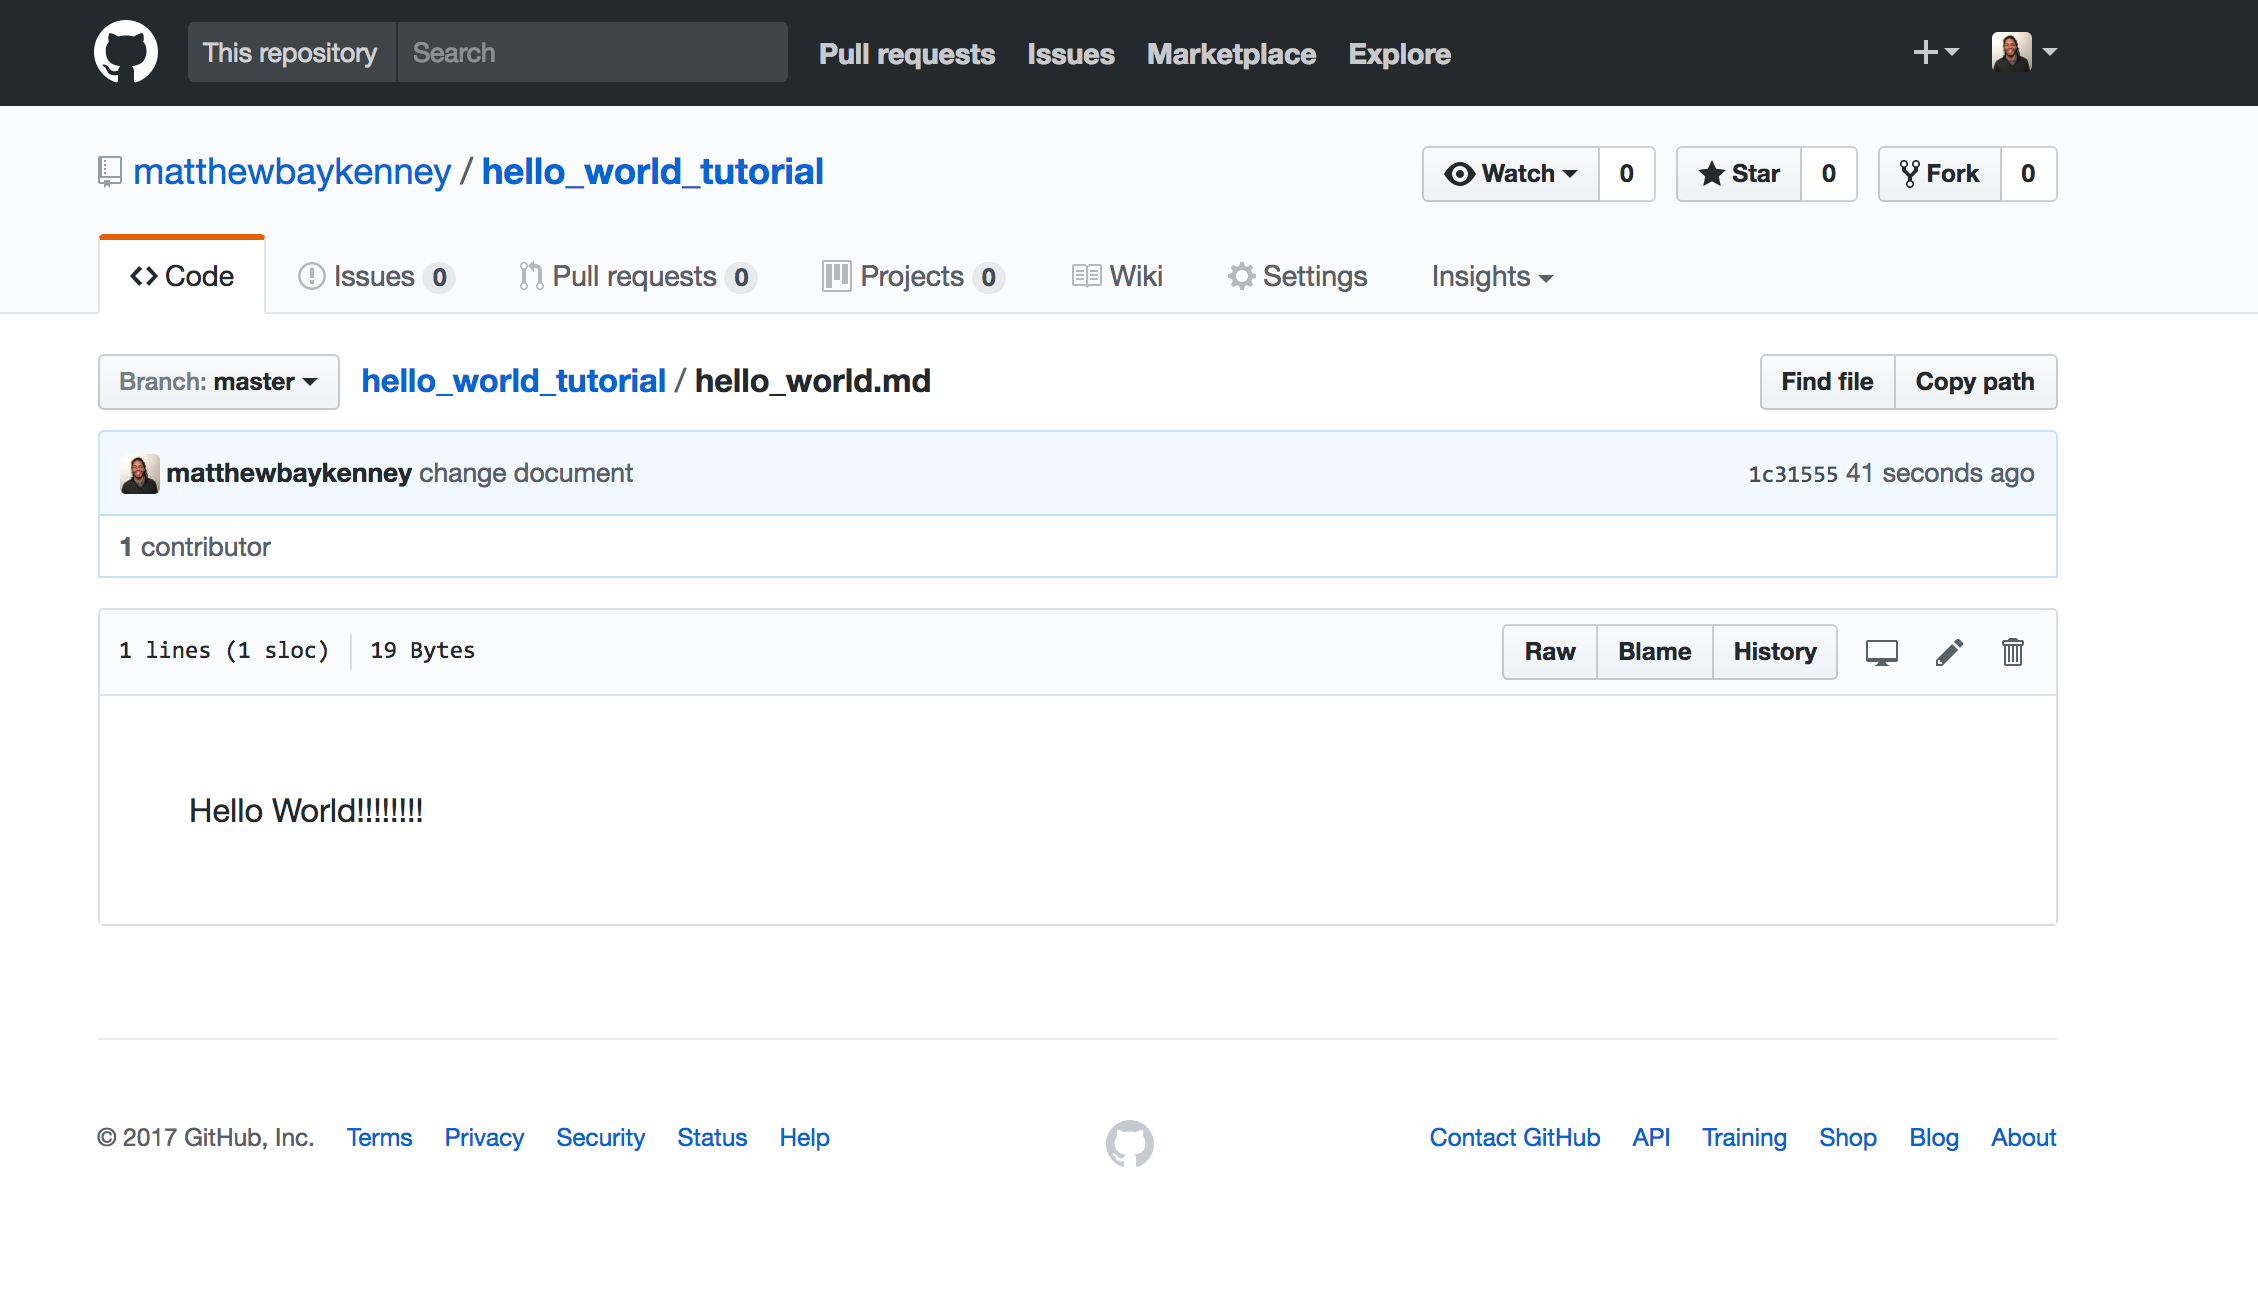
Now we should be able to go back to GitHub to see our changes. We can see that there are now two commits with our messages beside them.
If we click on the ‘hello_world.md’ file, we should see the text that we added to our document
Yayyyy!